Quantcast
Channel: Roebeast's Magical House of Sunshine
Viewing all 193 articles
Browse latest View live

Converting and Painting a Miniature for Numenera.

$
0
0
I've recently started playing in a Numenera game with a great group of players. Numenera is a sort of dark age of technology setting that takes place a billion years into the future and uses evolved technologies in ways that mimic magic. It's a beautiful setting that is written well and uses a system that allows for a lot of player interaction while keeping the game moving. 

I'm enjoying it so much that I decided to convert and model a mini of my character Chert Blazebeard. Chert is a re-imagined version of an earlier D&D character of mine who is sort of a traveling warrior/weapons-smith. He began life as a farmboy, became a smith's apprentice and now travels the lands of The Ninth World seeking martial challenges that will help him in his quest for better weapons and fighting techniques as he studies The Way of The Striking Anvil.


Sketch of Chert Blazebeard.

I was going through some Reaper Bones minis at my FLGS and found a great starting mini sculpted by Bobby Jackson. The mini is of a flame-thrower trooper called Torch McHugh 80018 and had a bulkiness and weight that I liked. I'd already started drawing Chert as wearing quilted armor and finding this mini seemed fortuitous.

There was a lot of cutting on this mini that I would not have tried with any material other than the hardened vinyl of Bones. The stuff is brilliant for massive conversions. There are still some issues with detail softening but not enough to worry about. This was going to be a gaming mini and not a contest entry.

The following pictures show the basic steps and tell which greeblies I used. Enjoy!


So much disassembly made so easy.
Even the massive fuel tanks were clipped off easily.

With the head re-angled the whole pose changes.

Arm from Games Workshop.

Pads from Gangs of Mega-City One and shield from The Homer car model kit.

Backpack from Warzone Bauhaus Trooper.

Green stuff for armor, beard, and axe blade.

Very basic paintjob. Simple colors with Citadel Washes and light drybrushing.


Base from Champ Industries.

Chert Blazebeard, ready to rumble!


Nameless Design Halloween Clearance Sale!

$
0
0

I'm going to stop selling a couple of the first Nameless Design Miniatures so now's your chance to save some scratch on a some sure-to-be obscure minis of the future!

TheGiant Deep One is normally $8 but now it's $4 (plus $2 shipping in The US and $4 International).


And Graveyard John, the freelance gravedigger is normally $8 but now it's $4 (plus $2 shipping in The US and $4 International).


Email me at hellbox45@hotmail.com if you'd like to order either one of these soon to be stunningly obscure works of the miniature sculptor's art. :)

Creating Quick Flagstone Bases.

$
0
0
I've been working on some Famous Monsters minis from Heritage lately and decided that I wanted all of the bases to match. The integral bases on the minis are various sizes so I decided to use a standard sized base and sculpt a simple flagstone texture to integrate the original base into the overall texture.

Looks like a Monster Mash is about to break out.
I used Renedra plastic bases since they're nice and thin. This means they won't get too chunky once I've added some putty texturing. The two minis, a Wolfman and Hunchback, were cleaned up with knife and file and then super glued to the bases.


Hairy and Hunchy look a little gray today.
I added greenstuff putty to the bases and sculpted it even with the integral bases on the minis. Then I textured it with a metal bristled brush. This layer doesn't have to be perfect since it'll be mostly covered over with stones.


Once the dirt layer is dry I added little blobs of putty to make the flagstones. I'm using bronze/brown putty here for contrast but most any putty will work. Try to make sure that these go over the original base to hide the edge.


The stones are formed with a dental tool and I try to keep them all evenly flat with one another. This is the only time that you have to be somewhat careful but there's still a lot of room for leeway.


Once the stone putty is cured you can go over it with a sanding stick to really even the stones out. Then they're ready for priming and painting. 

Painted Alpha Zorgl from Golgo Island AKA Ro-Man!

Assembling a Robotech RPG Tactics Defender Destroid.

$
0
0
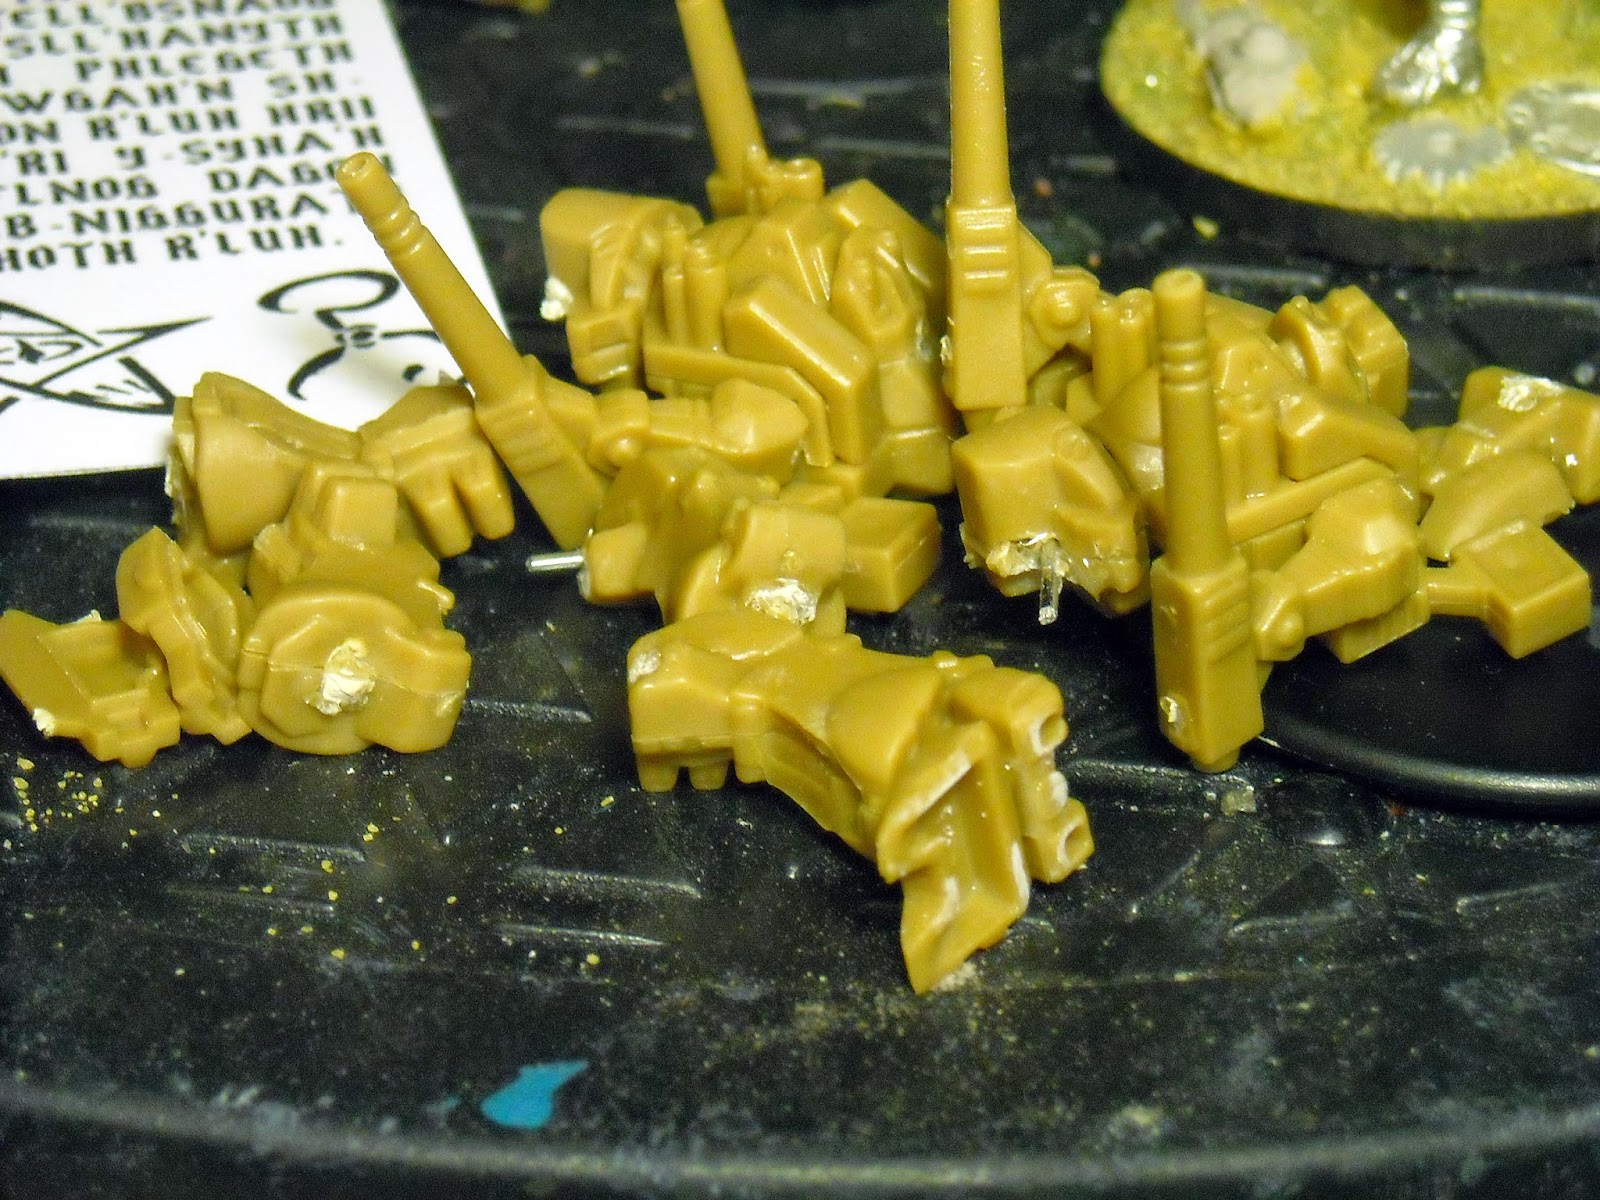
I recently received my first wave of rewards from the Robotech RPG Tactics Kickstarter and dove right into building the models. This was a mistake. By not taking the time to get to know the kits better I now have two legless Tomahawk Destroids that are going to require some major surgery to get back into the fight. Not that the kits are overly complex, but there are some design decisions that have been made that make assembly a bit frustrating. And this is not really a criticism of the model designers, not that it would do any good at this point, but more a cautionary tale and hopefully a few valid pointers.

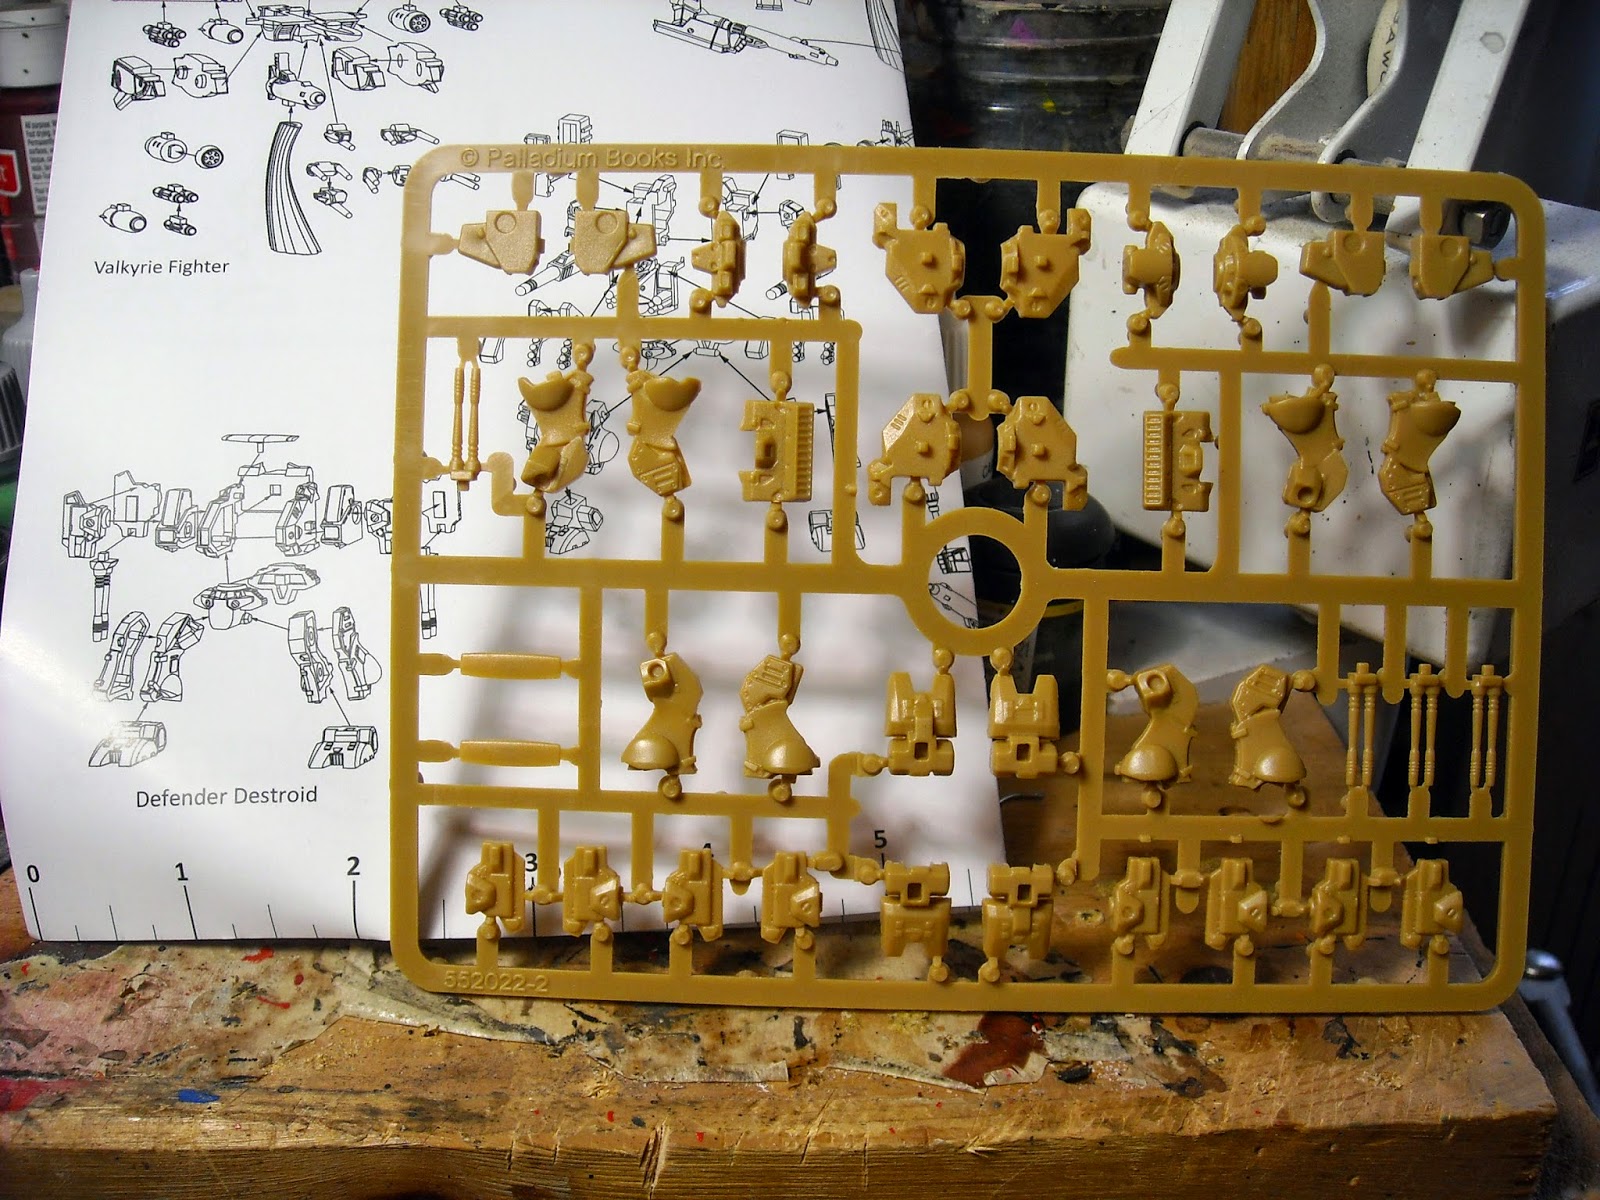
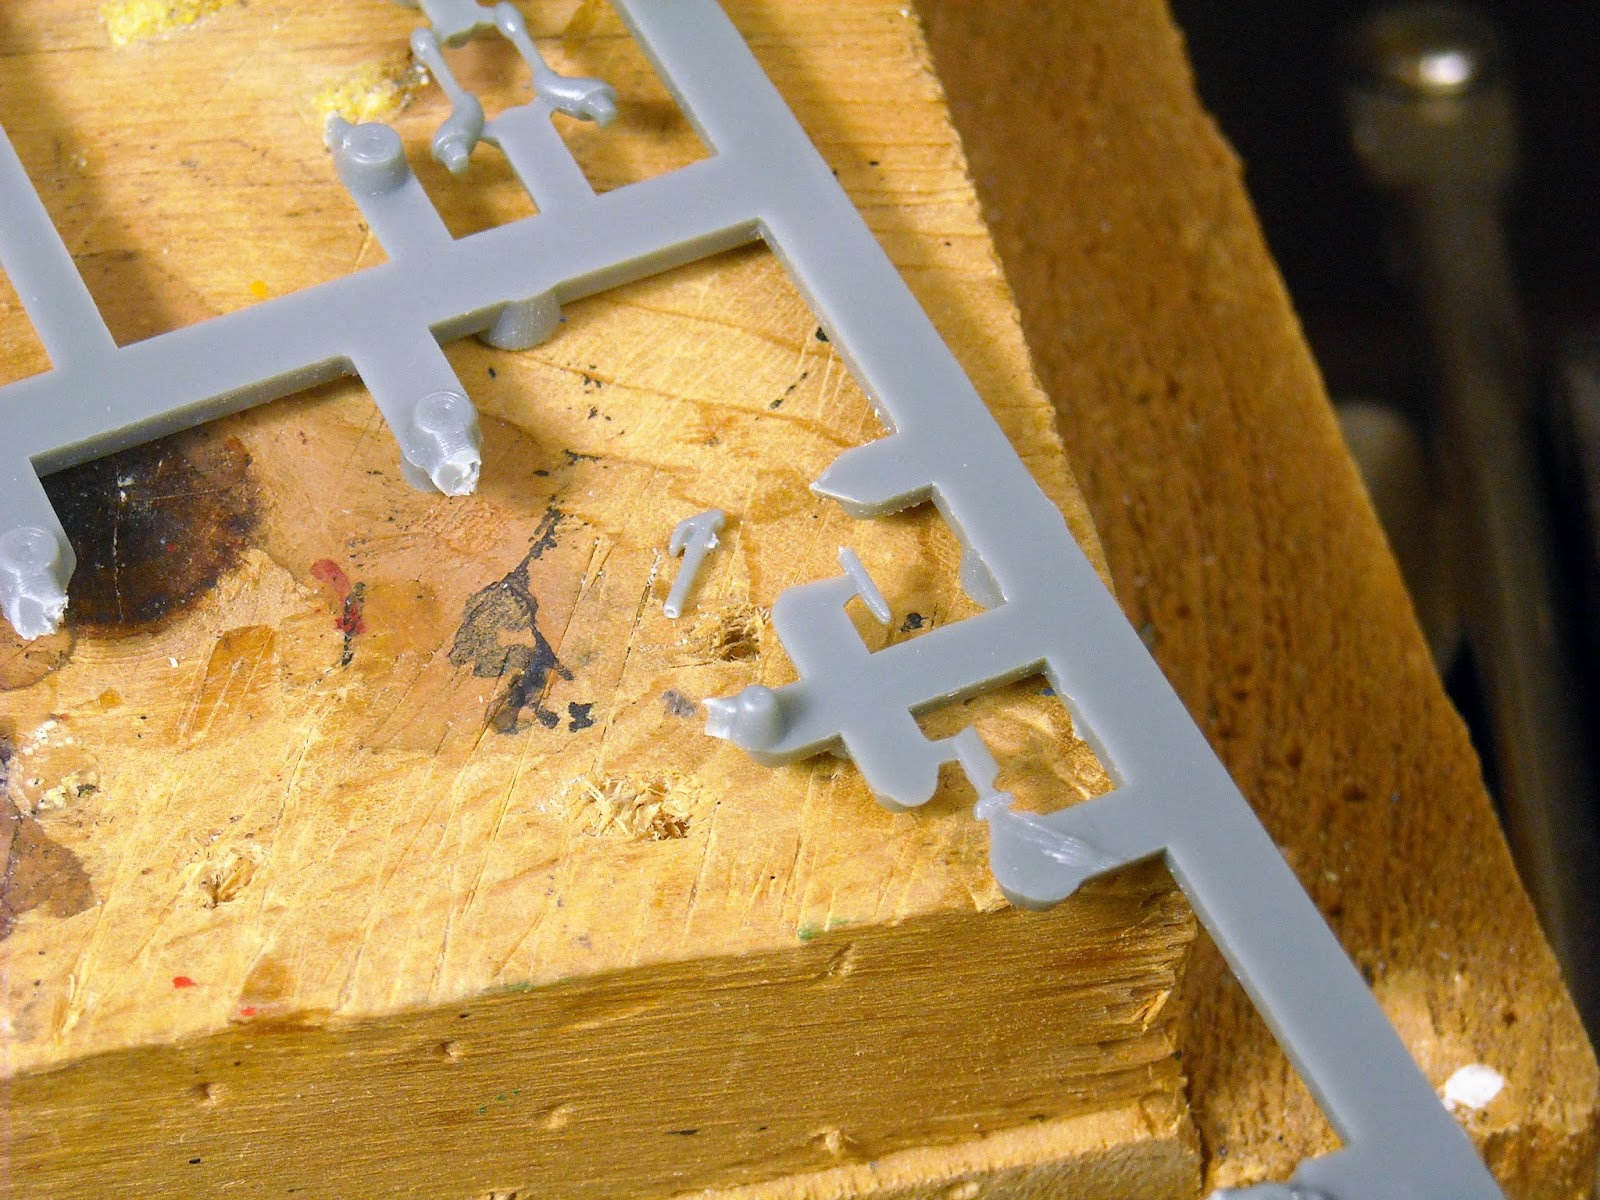
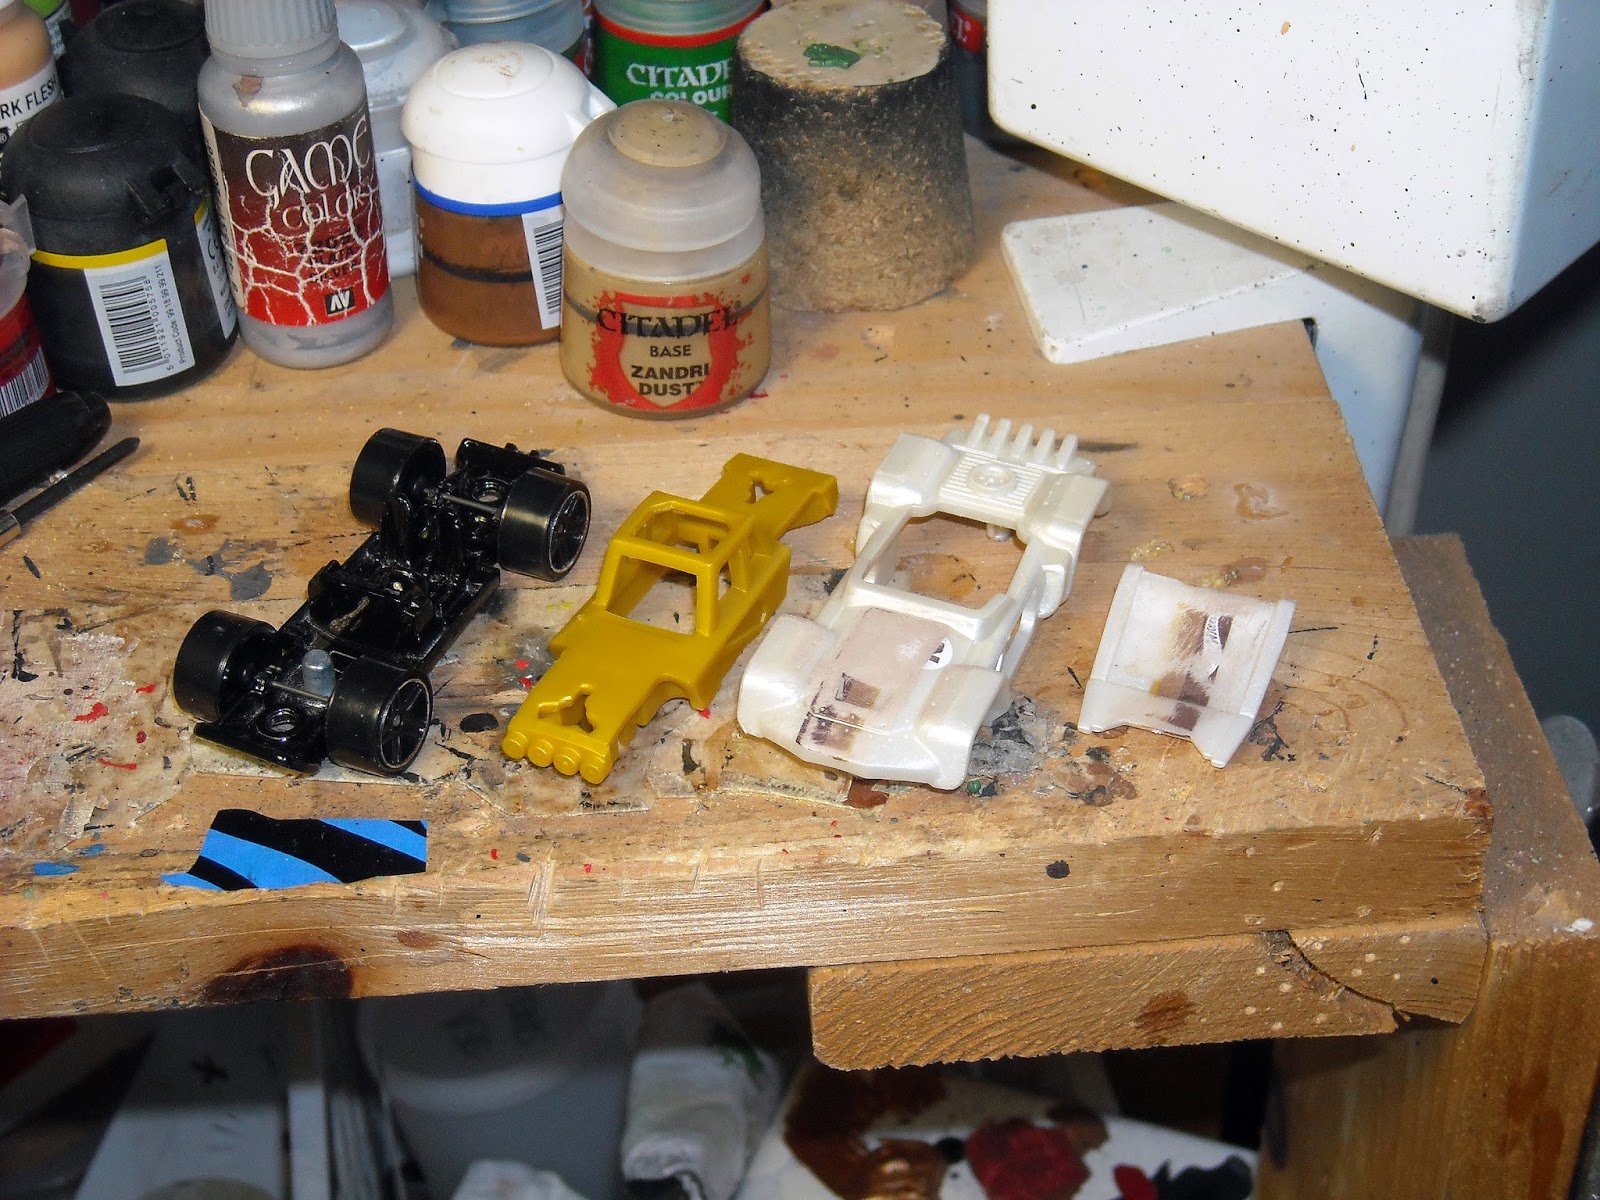
My God, it's full of sprues!

Tragedy strikes!
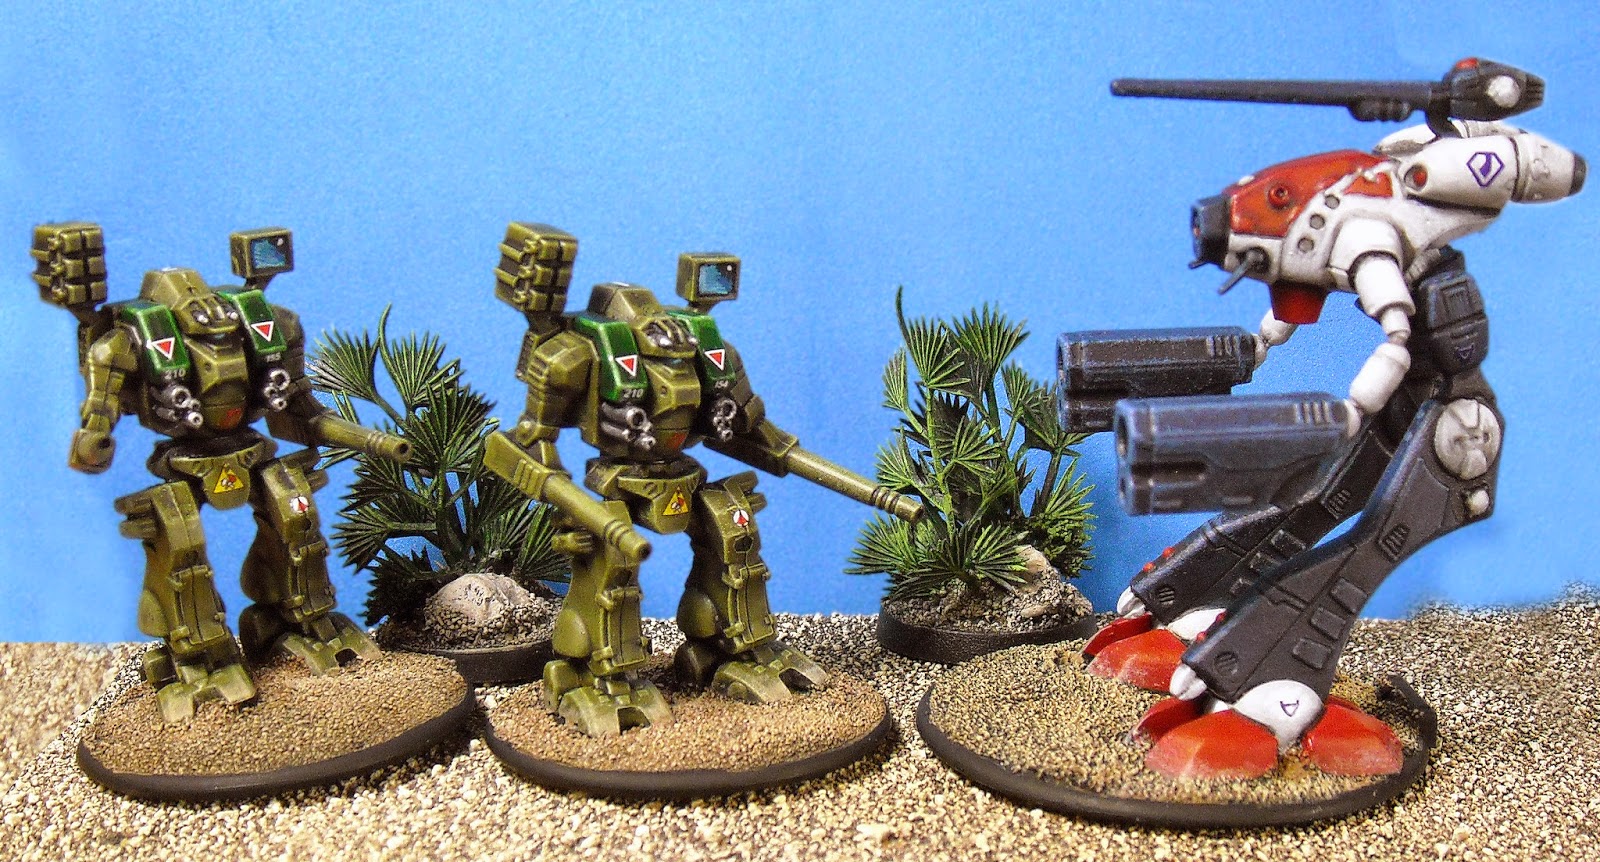
Since the Tomahawks are in triage I'll be building a Defender and taking my time.

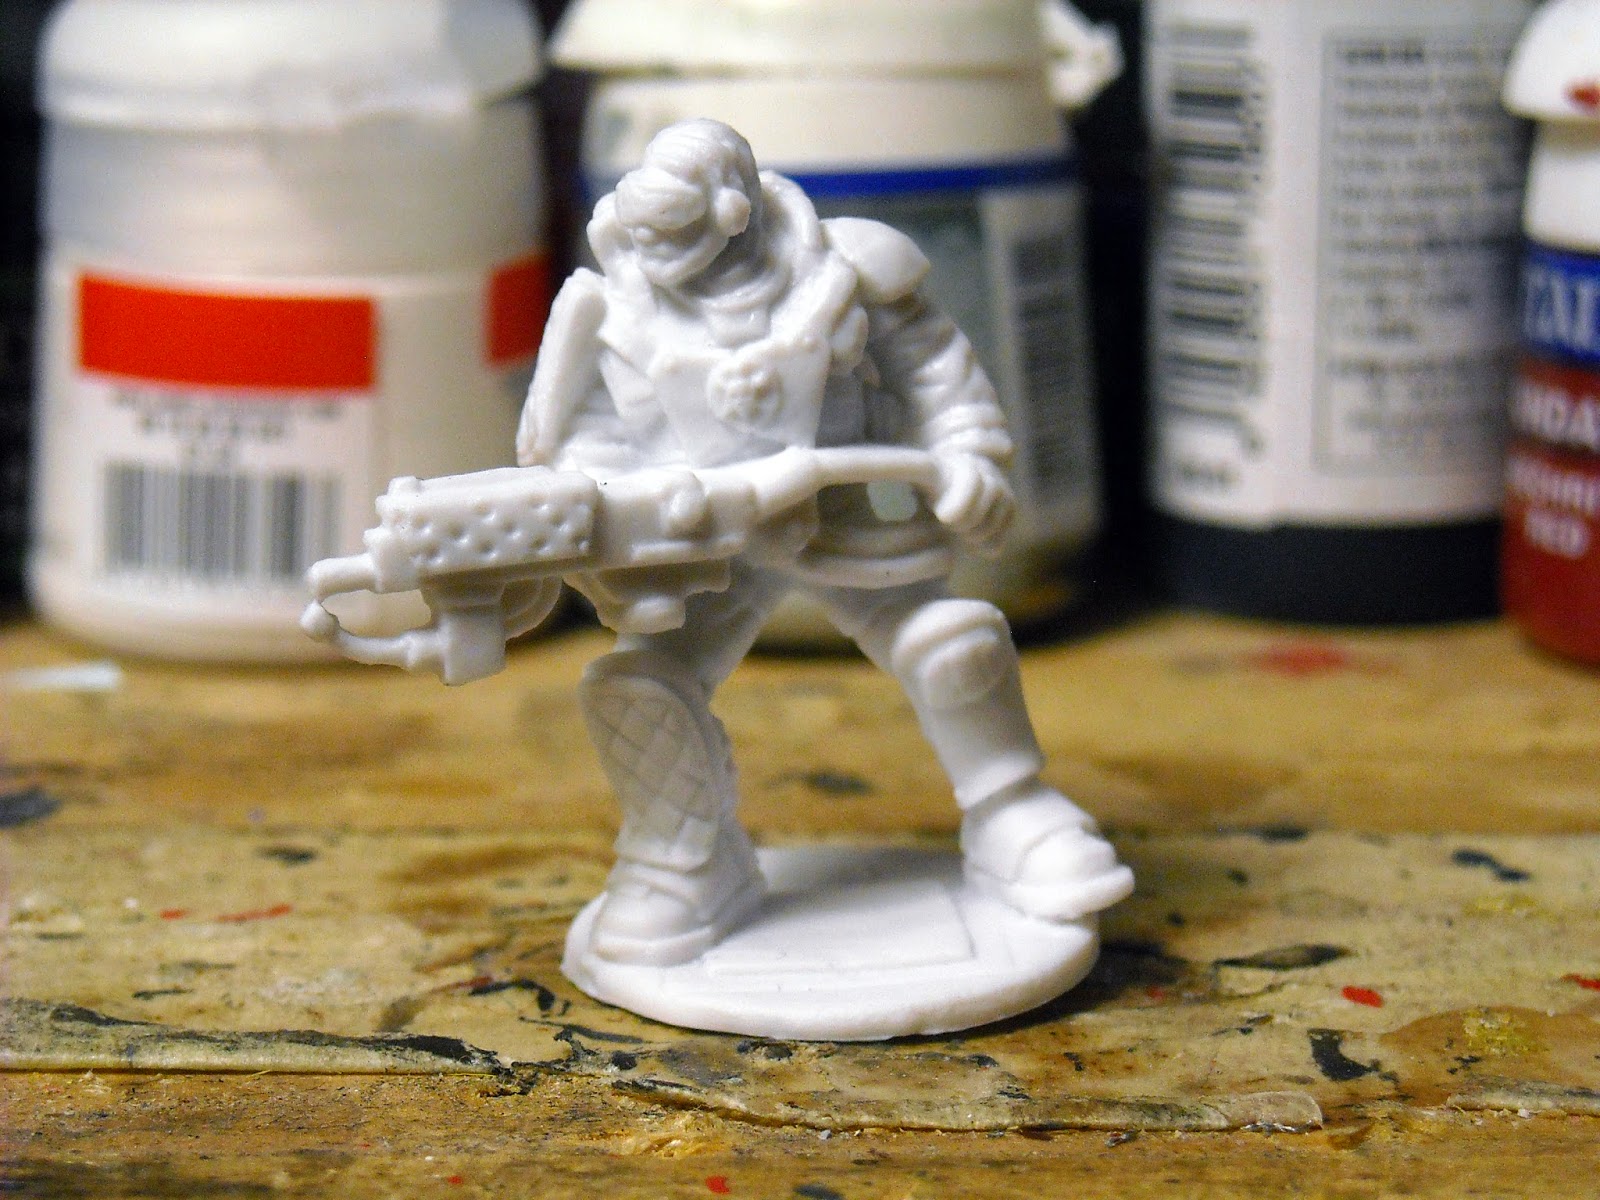
First off you have the sprue of parts. Each sprue makes two Defenders. I clipped the various parts out with model cutters and cleaned them with an X-Acto, needle file, and sanding stick. Here's one of the first things I noticed, the plastic that these kits are made of seems to act differently than normal model kits that I'm used to. It's tougher and doesn't like to be scraped or filed as easily as a kit from Bandai or Games Workshop. It's not as hard to work with as the Sedition Wars stuff but is still strange. Even after working on it quite a bit I'm still left with plastic fuzz. 


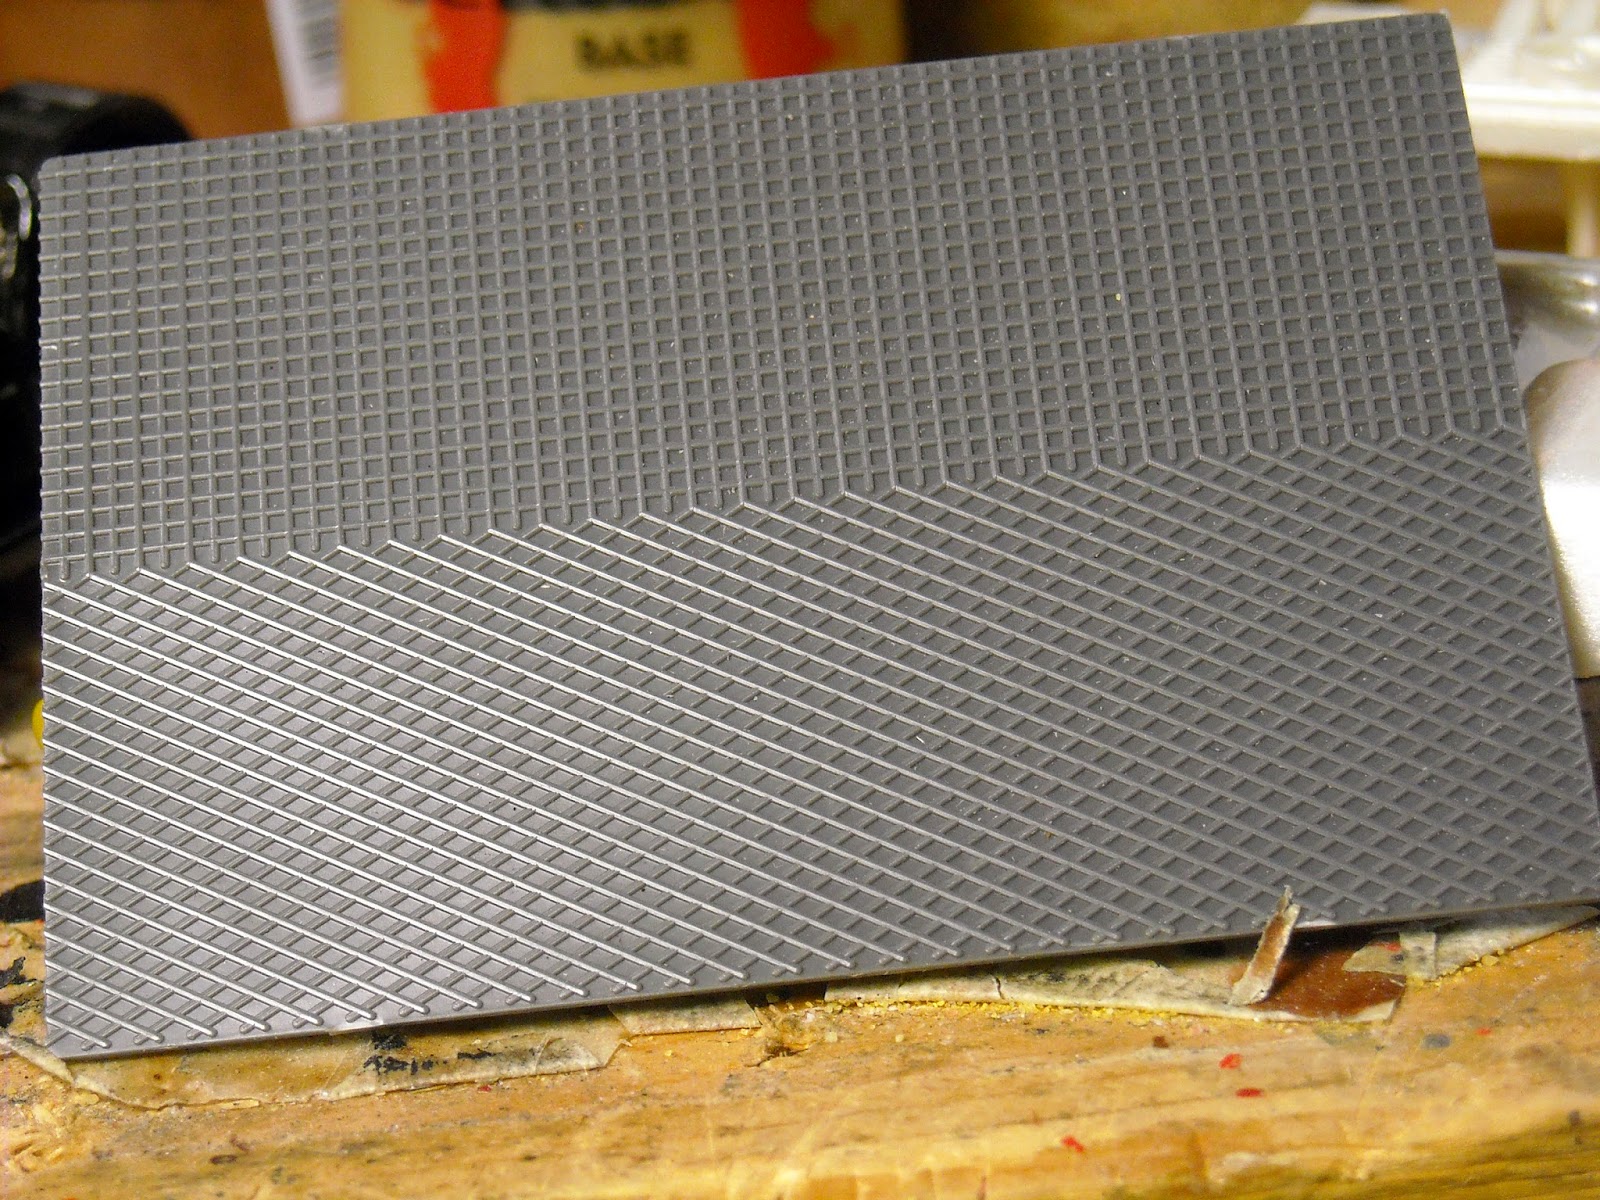
The instructions are simple enough but numbered parts would have helped.

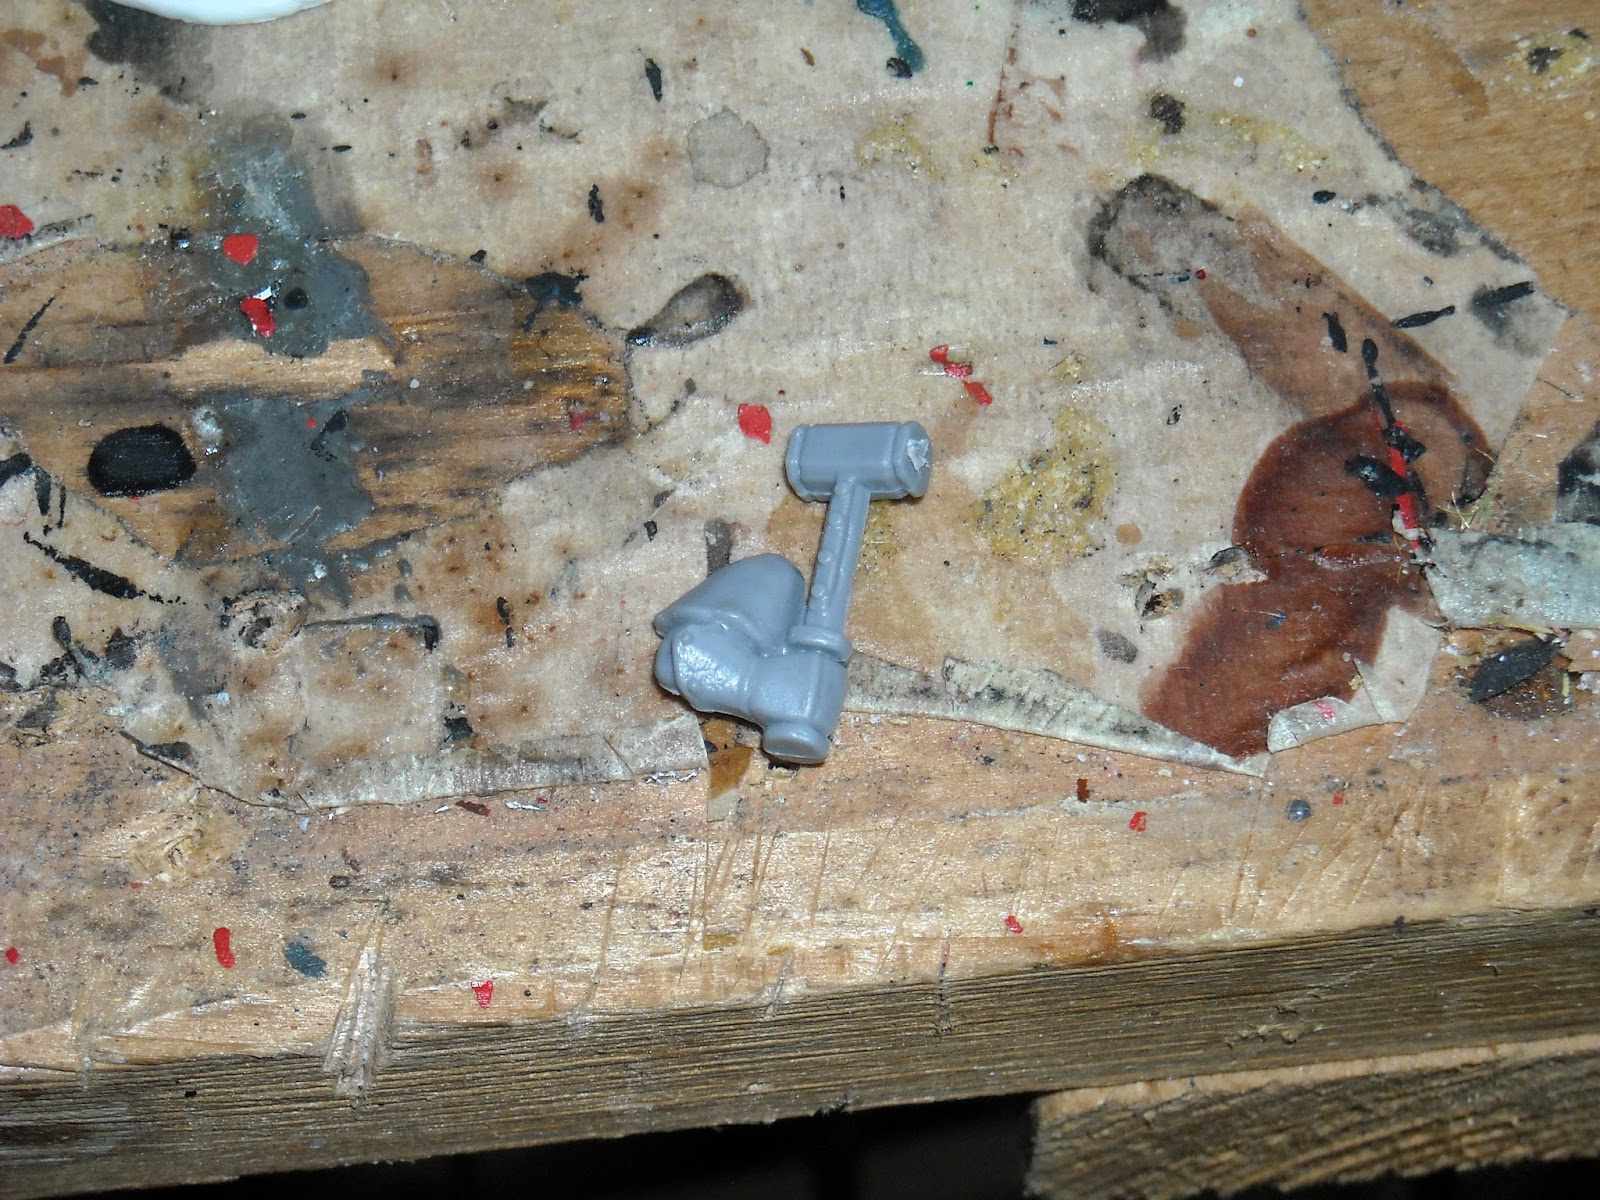
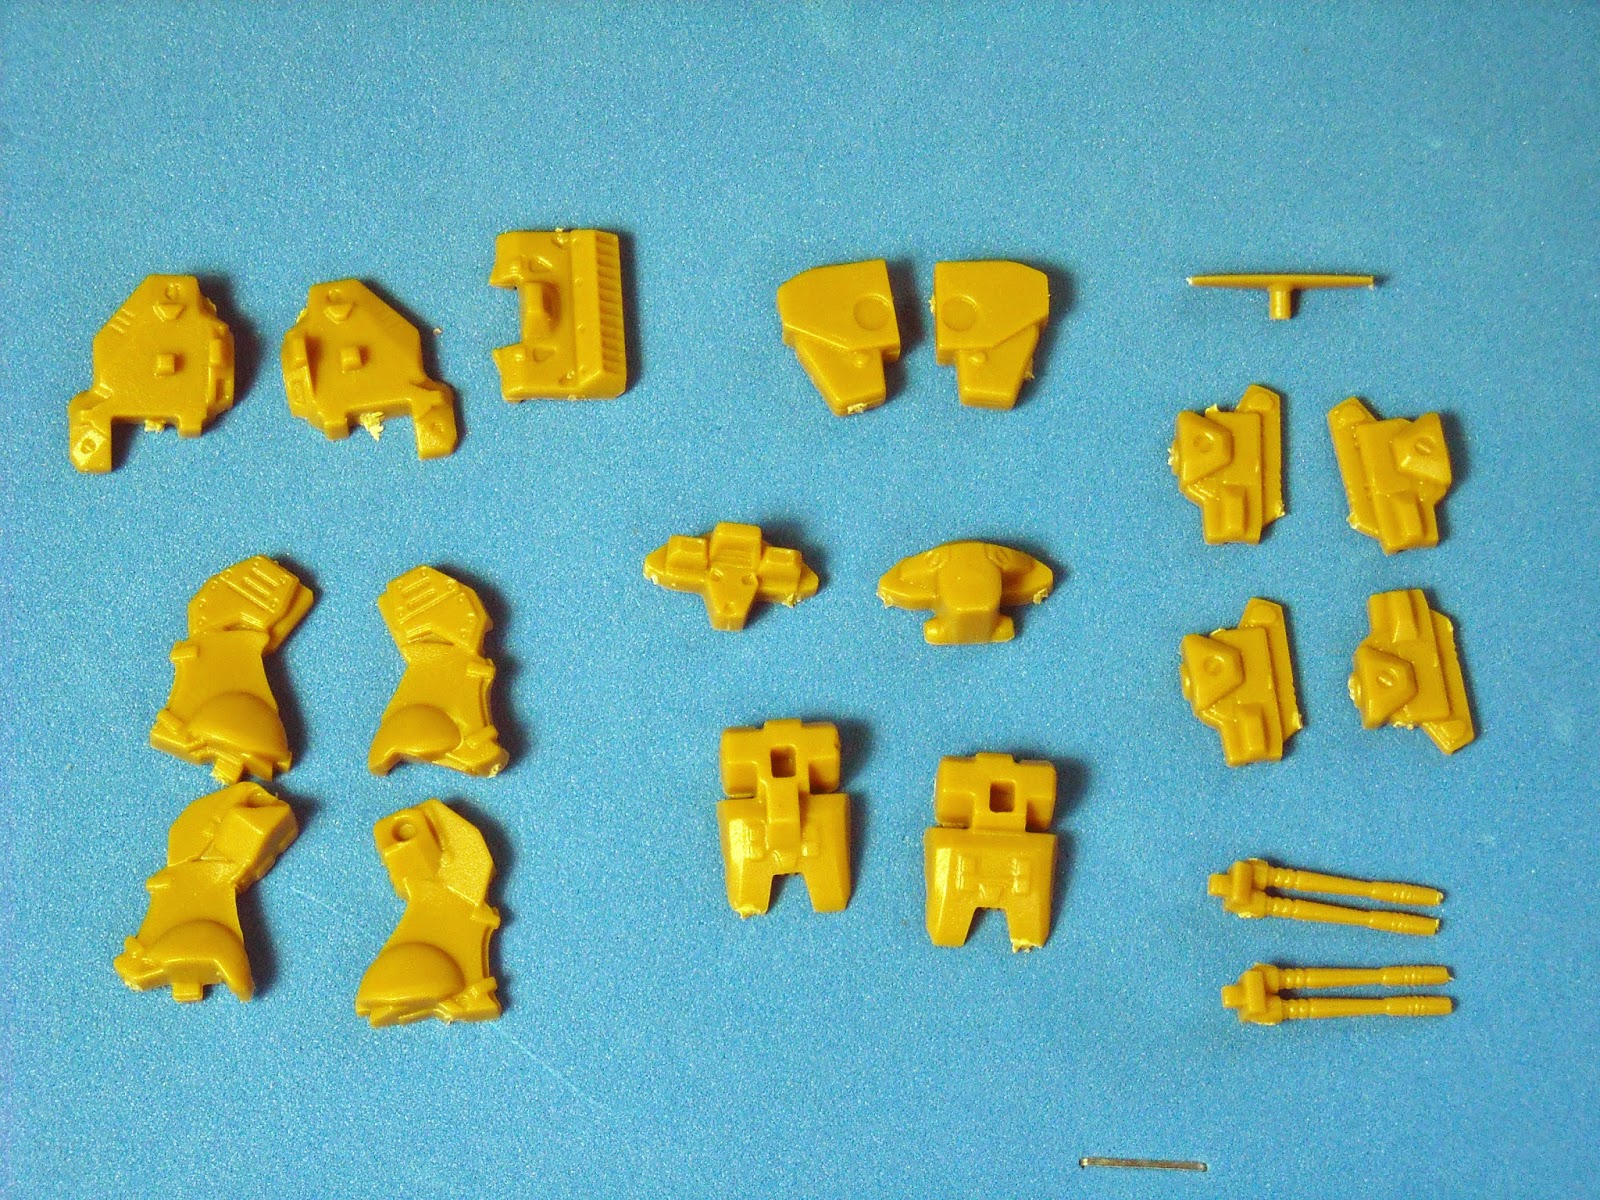
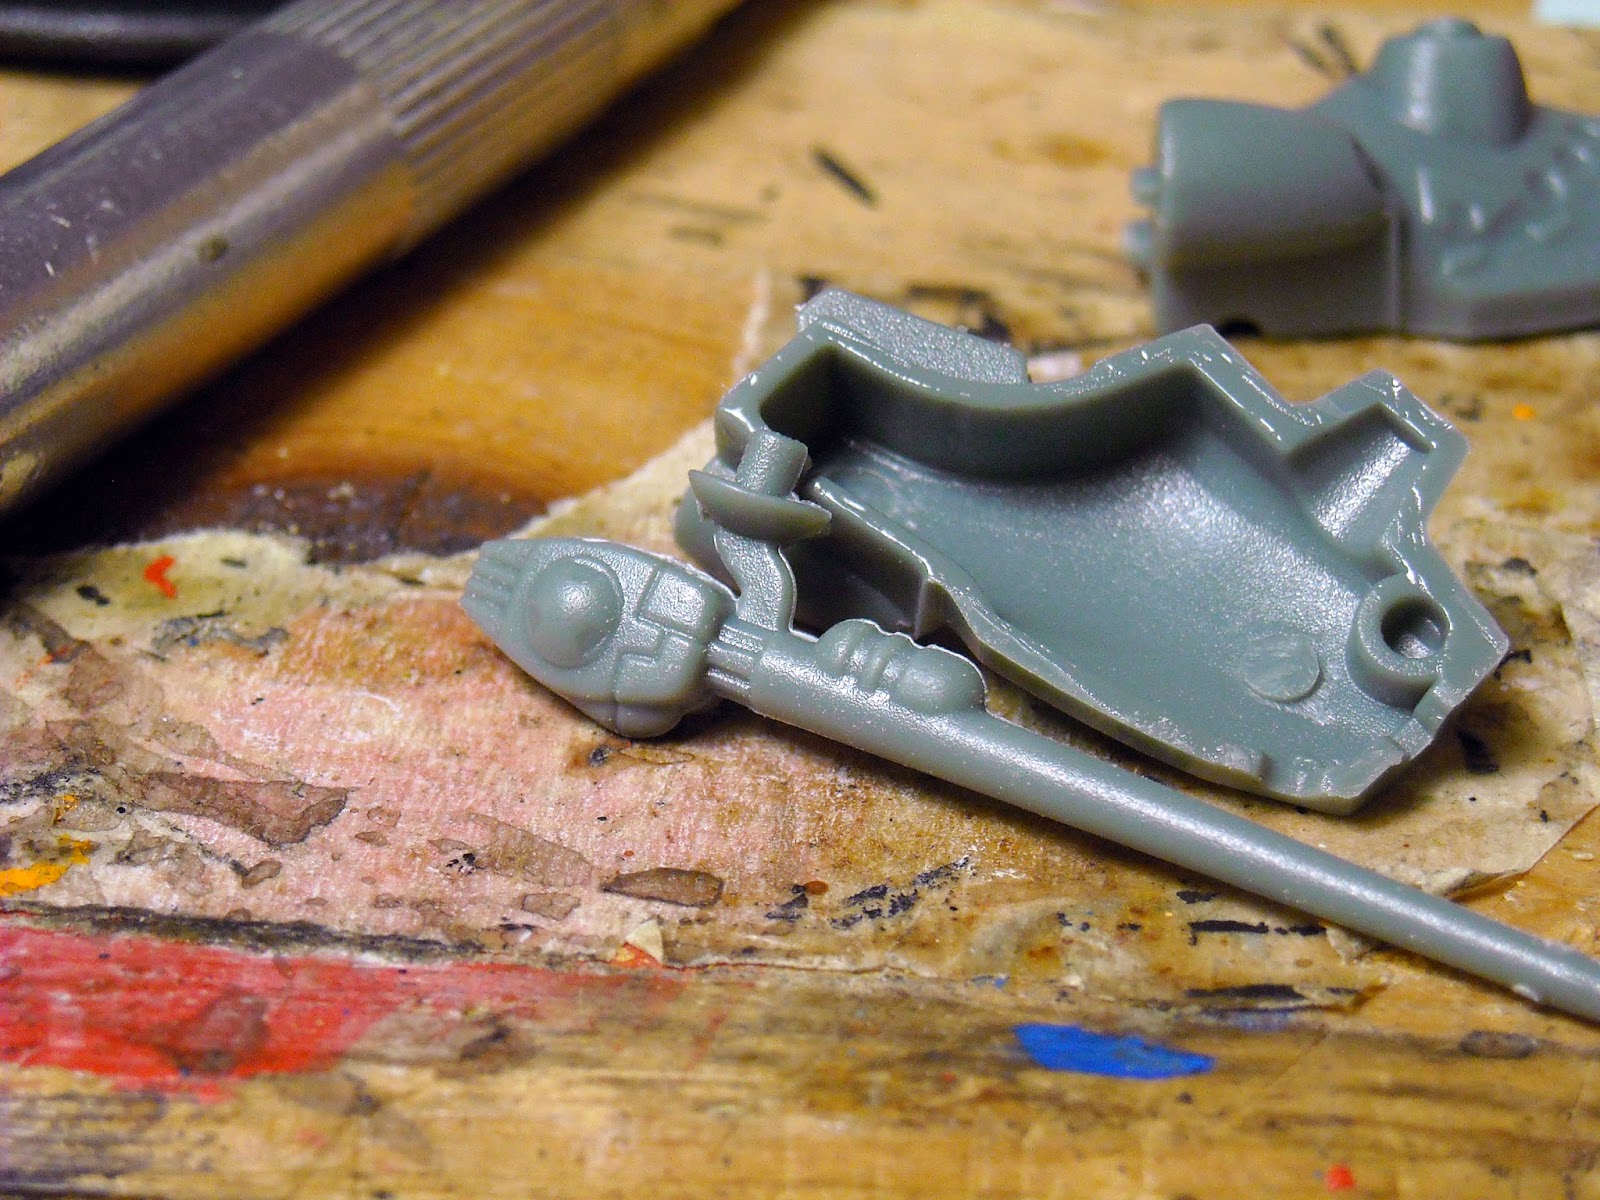
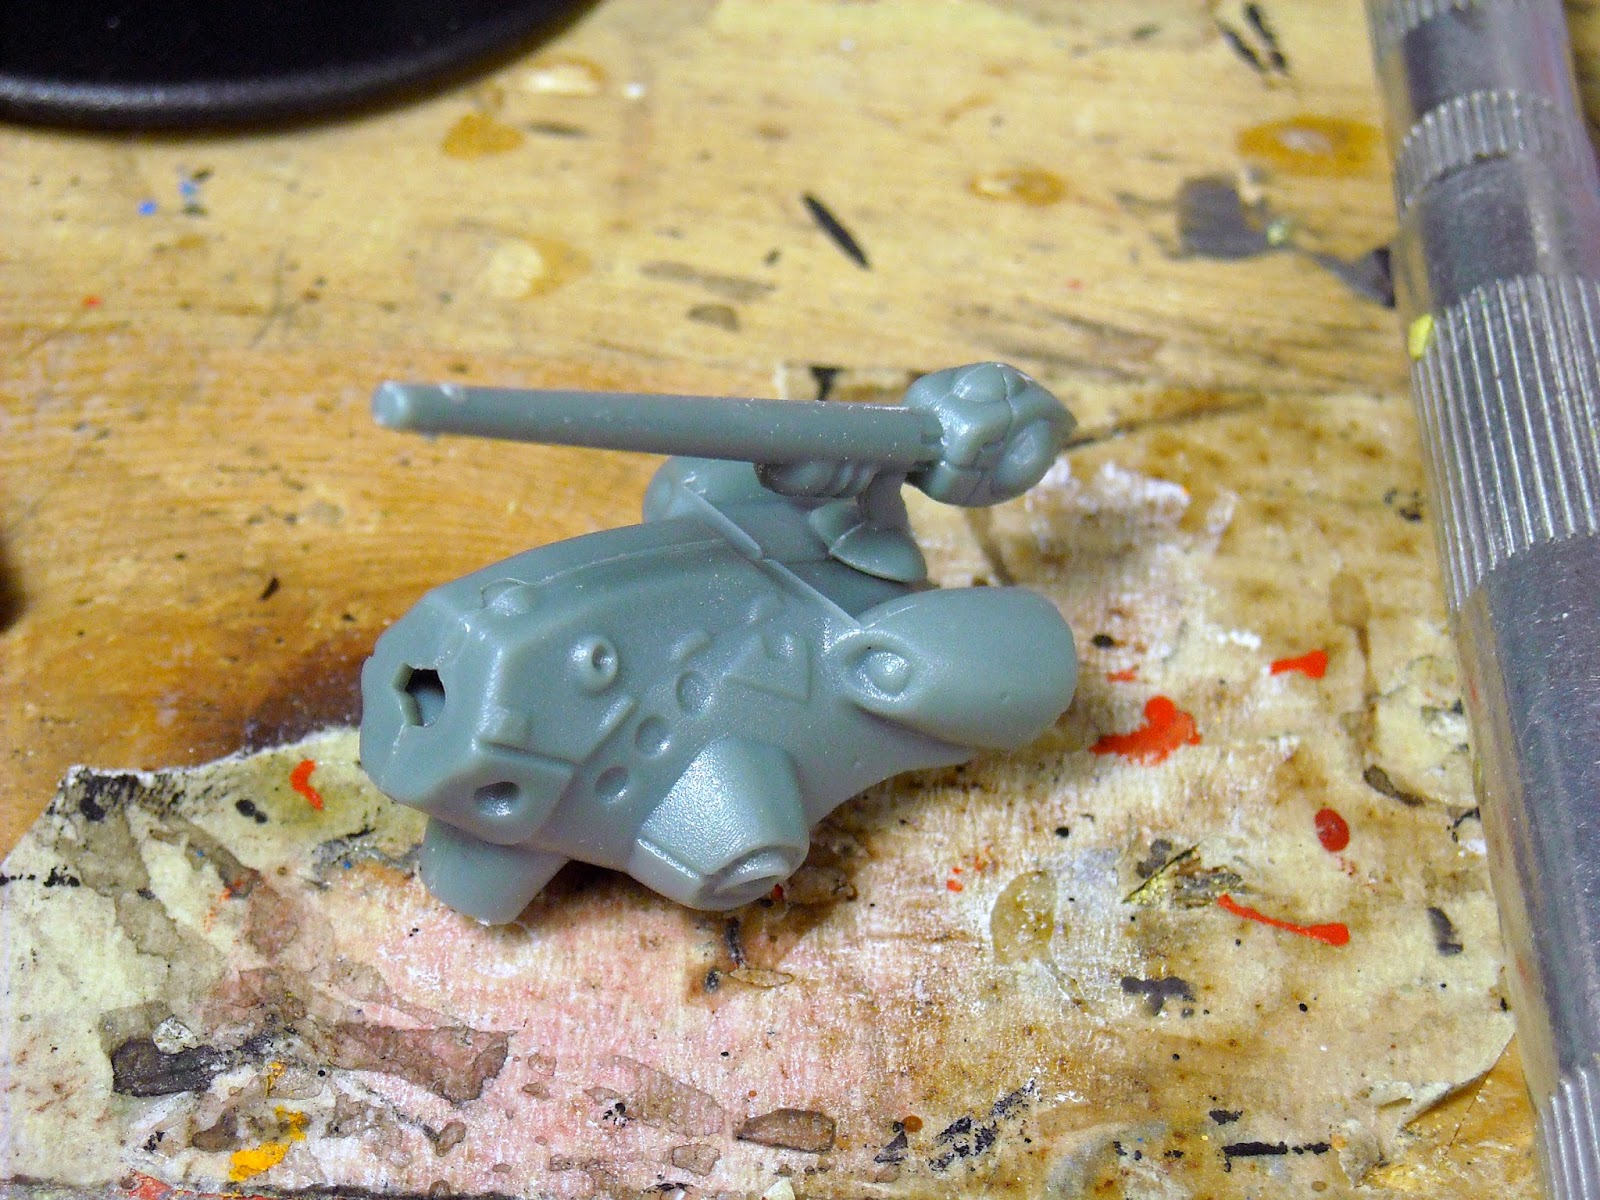
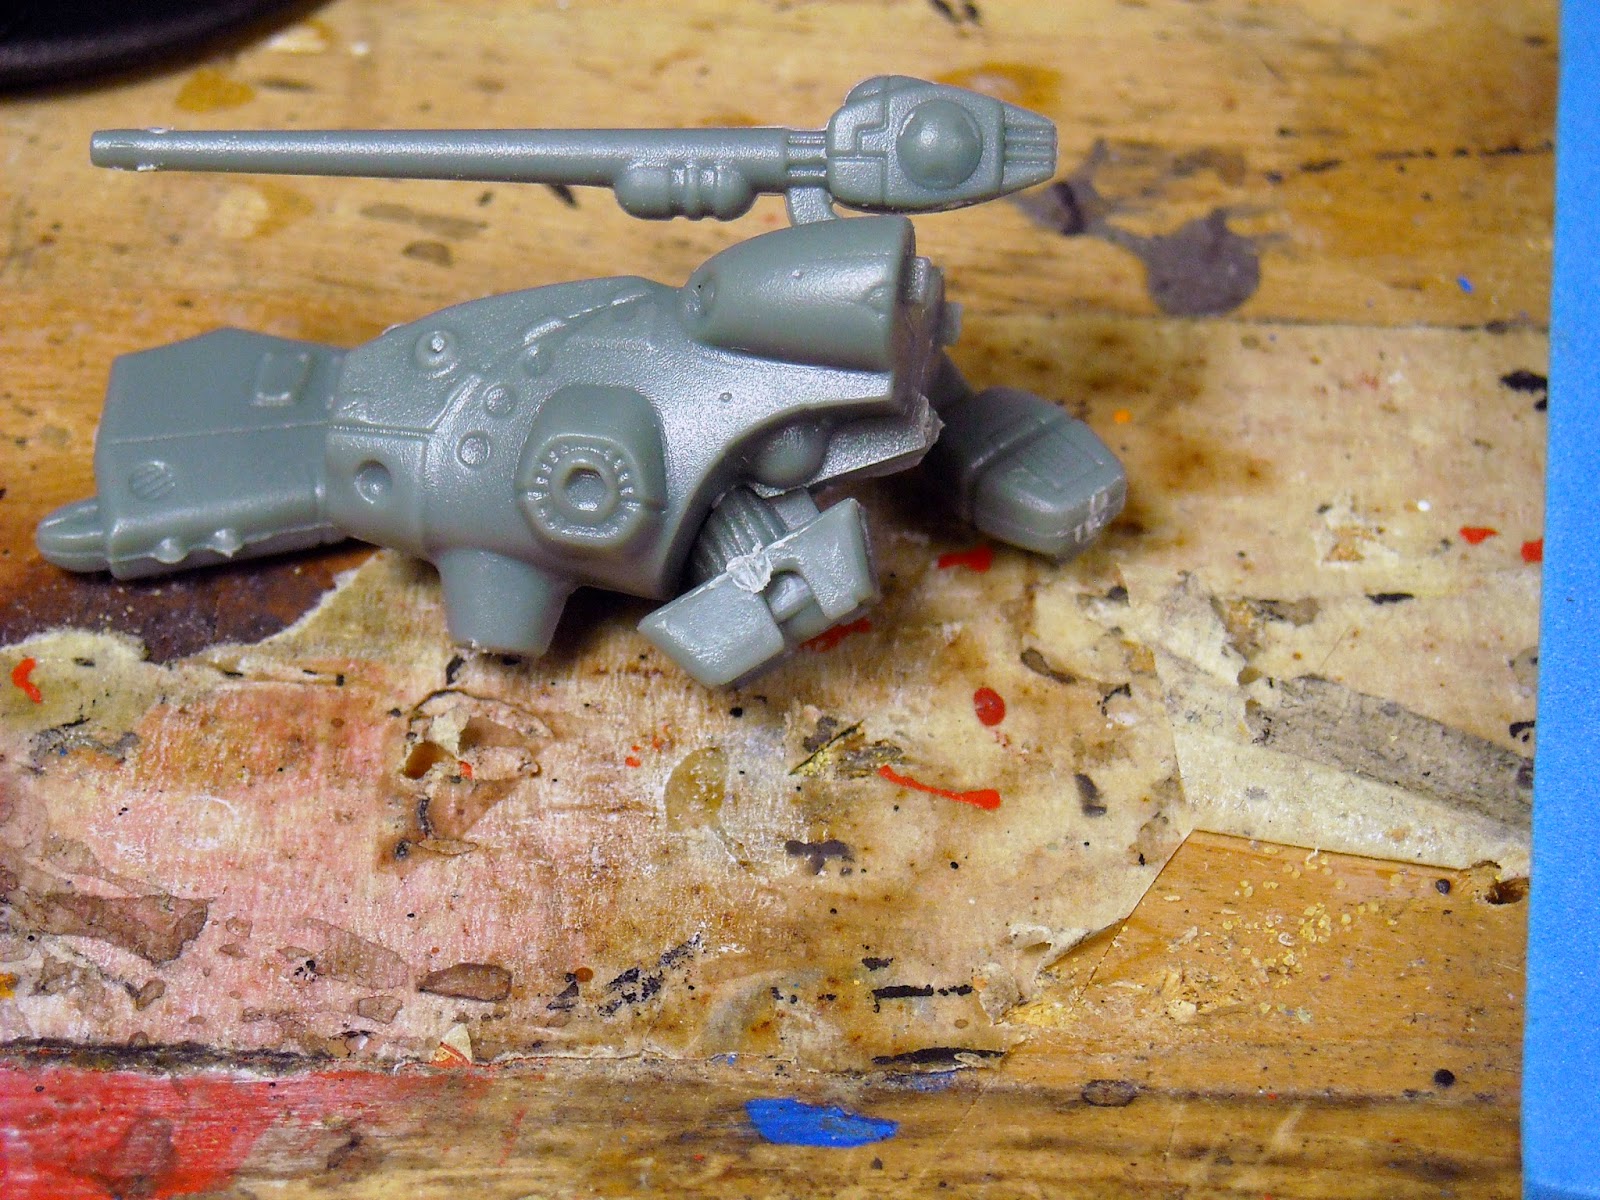
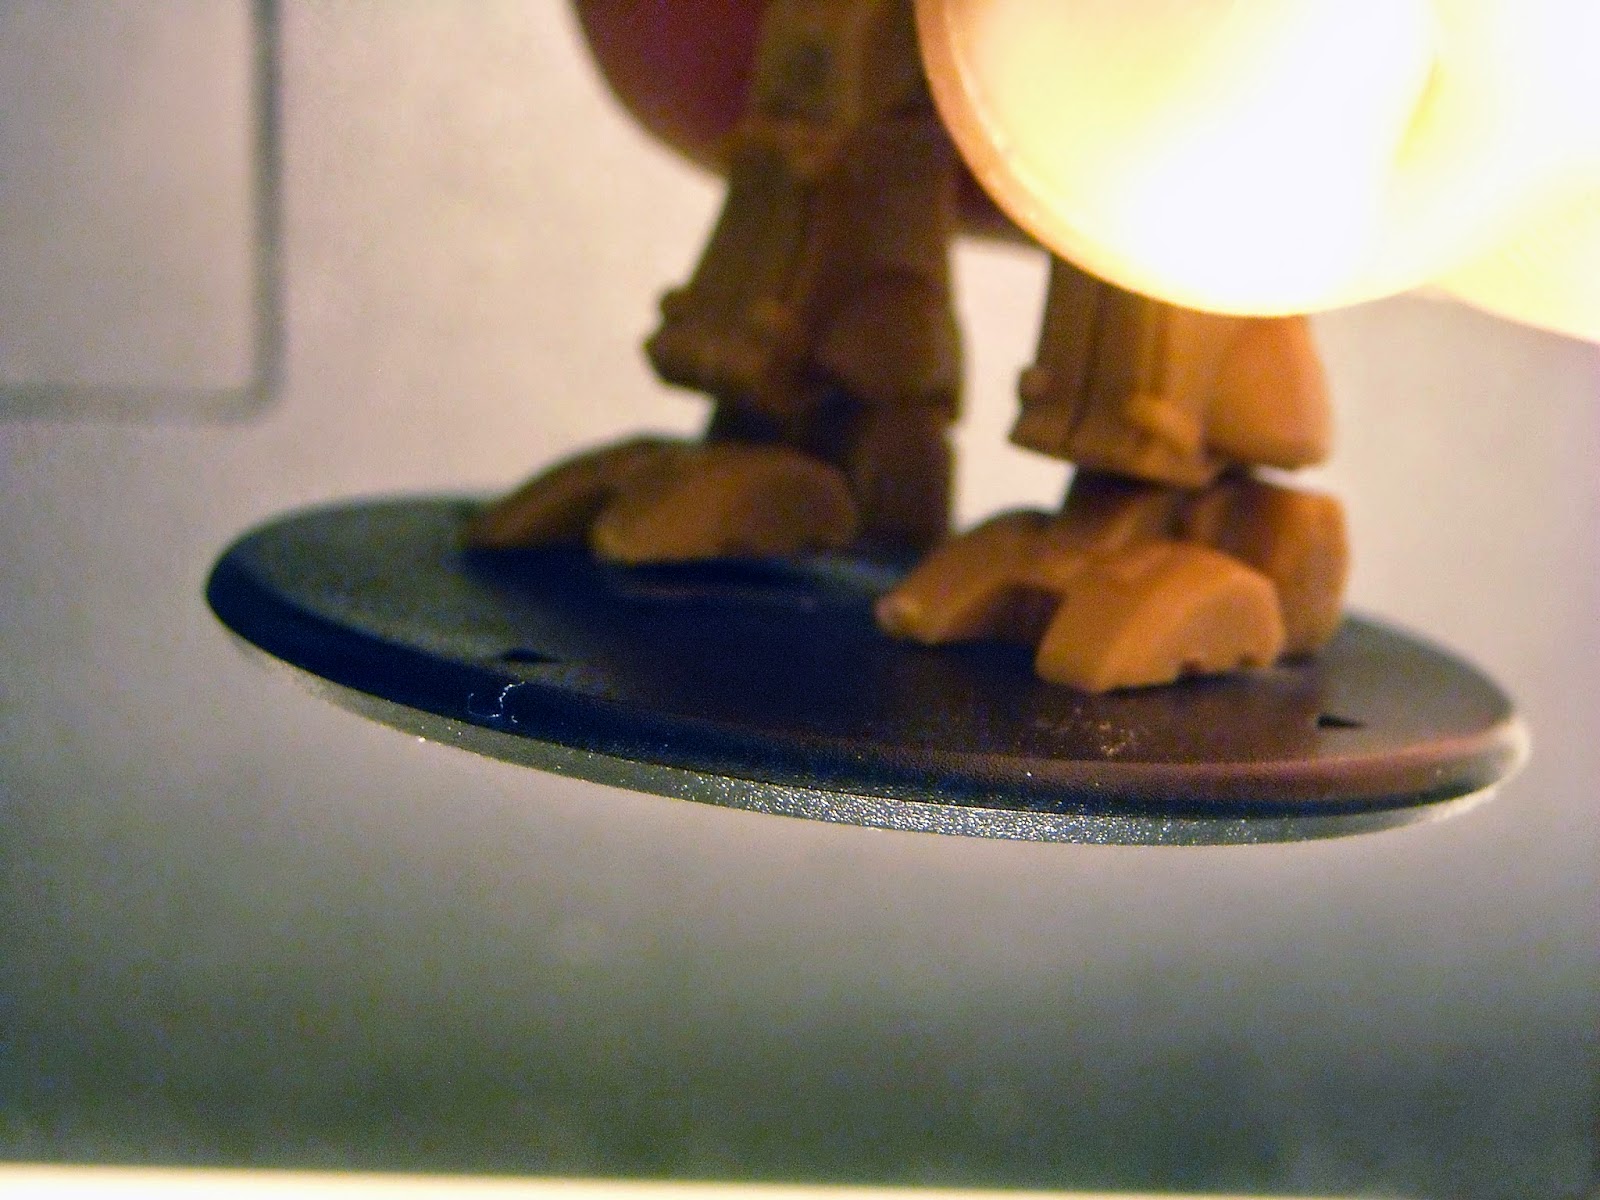
Once the parts have been freed from the sprues and cleaned as much as possible I assembled them into sub-assemblies. Most of these went together easily, the main torso actually fits together really nicely, but there are some gaps in the legs that are obvious in the photos. I originally used polystyrene cement to build the Tomahawks in hopes that I could fuse the seams and then scrape them clean but there are too many ridges in the way. So I used cyanoacrylate glue which kicked too quickly to allow me to squeeze the parts together. 


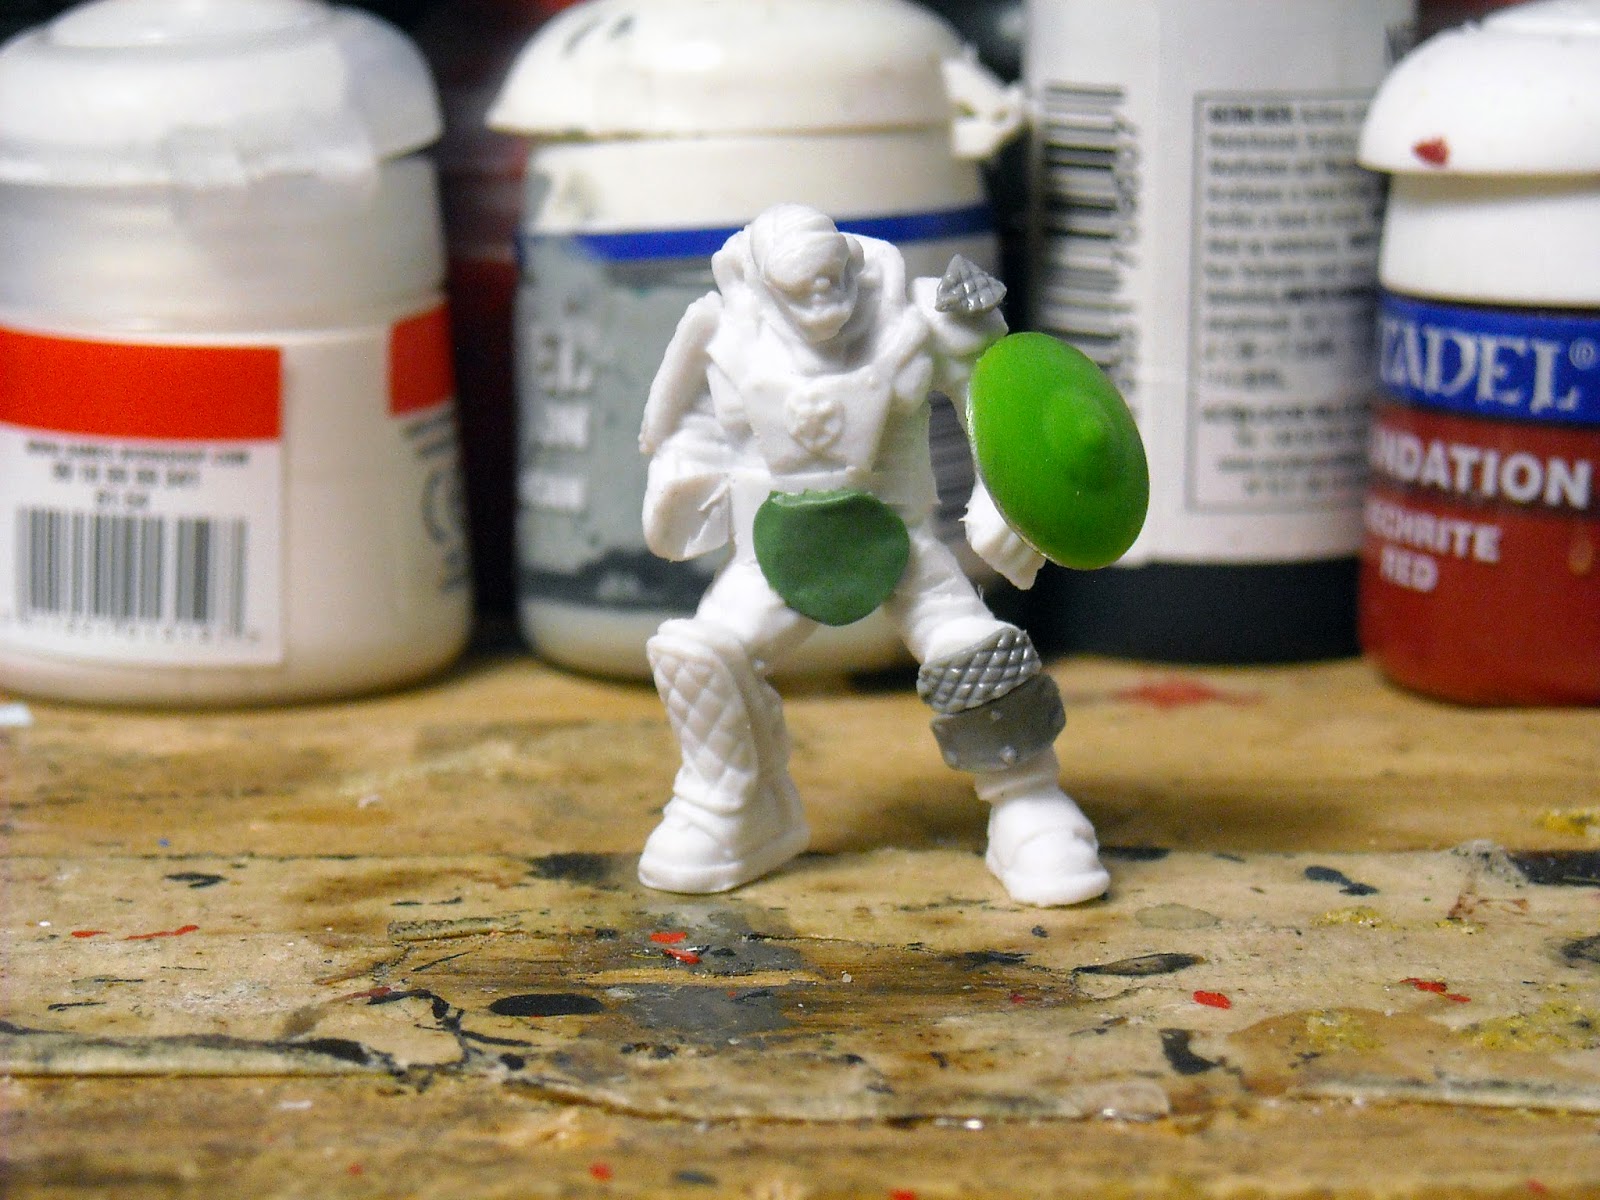
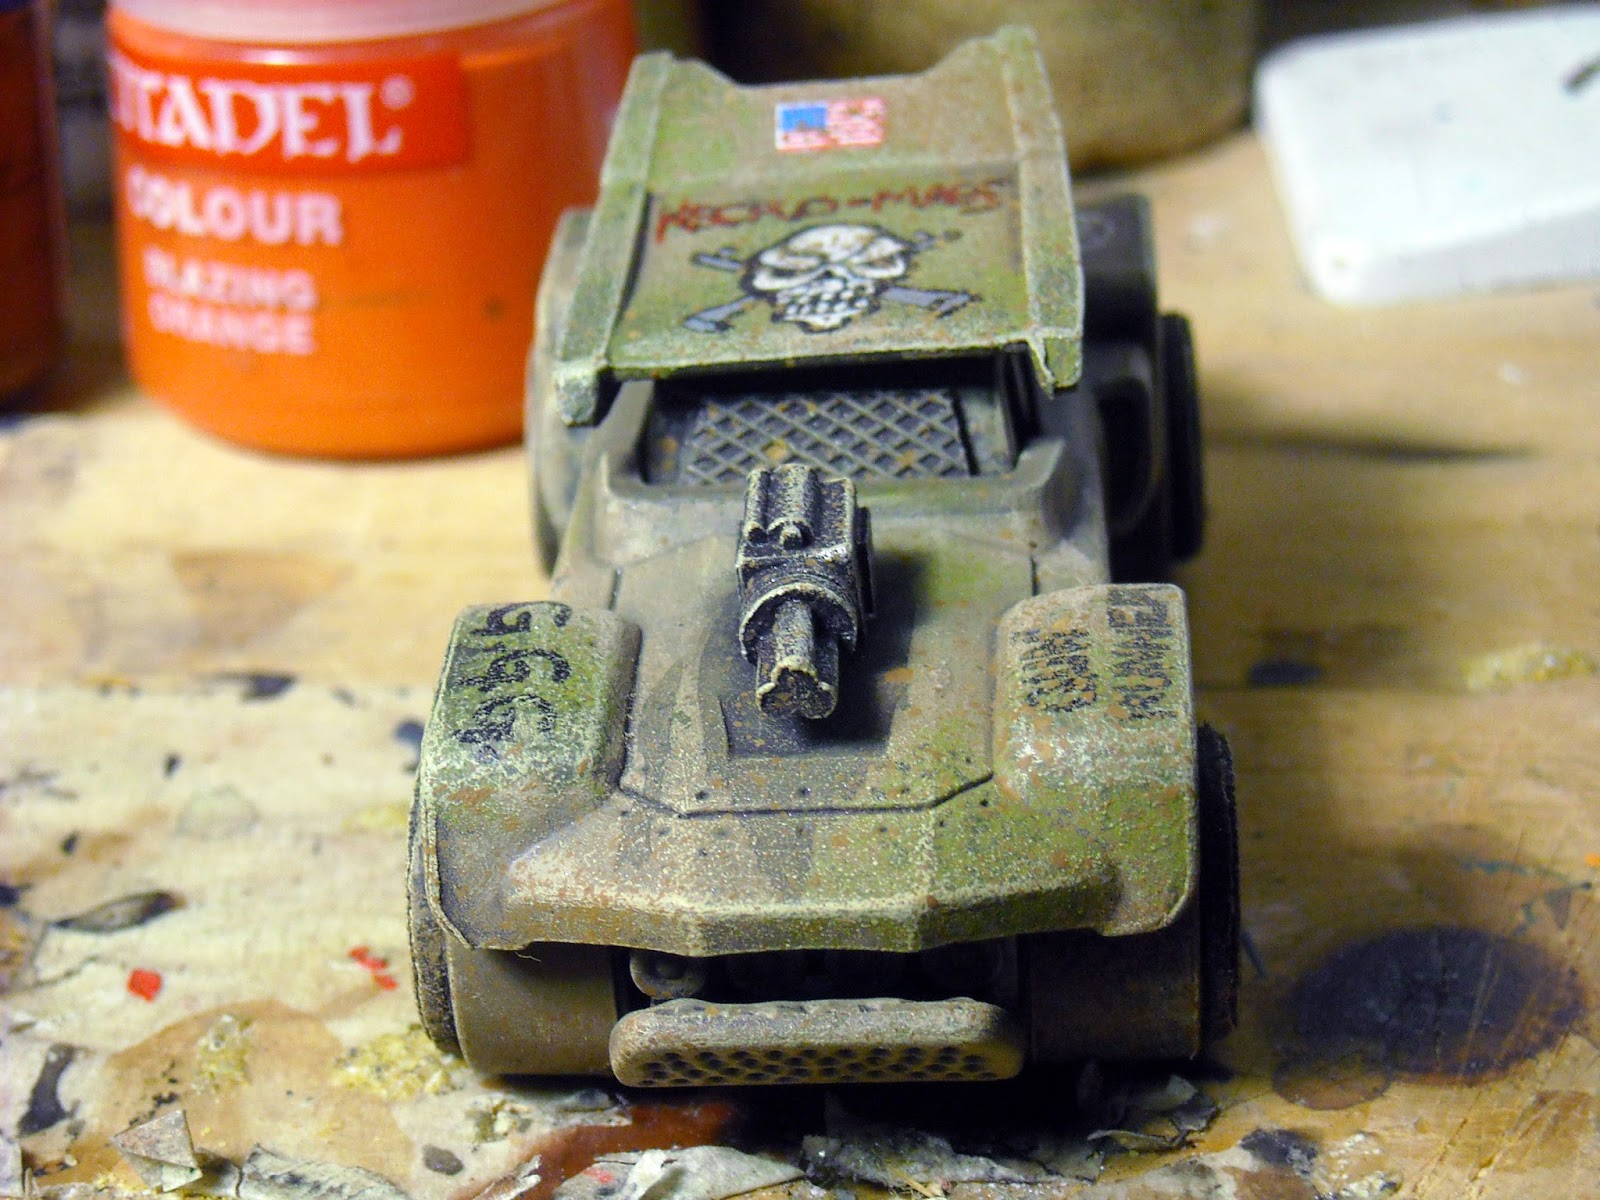
Notice gaps in the legs. I'll have to try gel polystyrene cement next time.


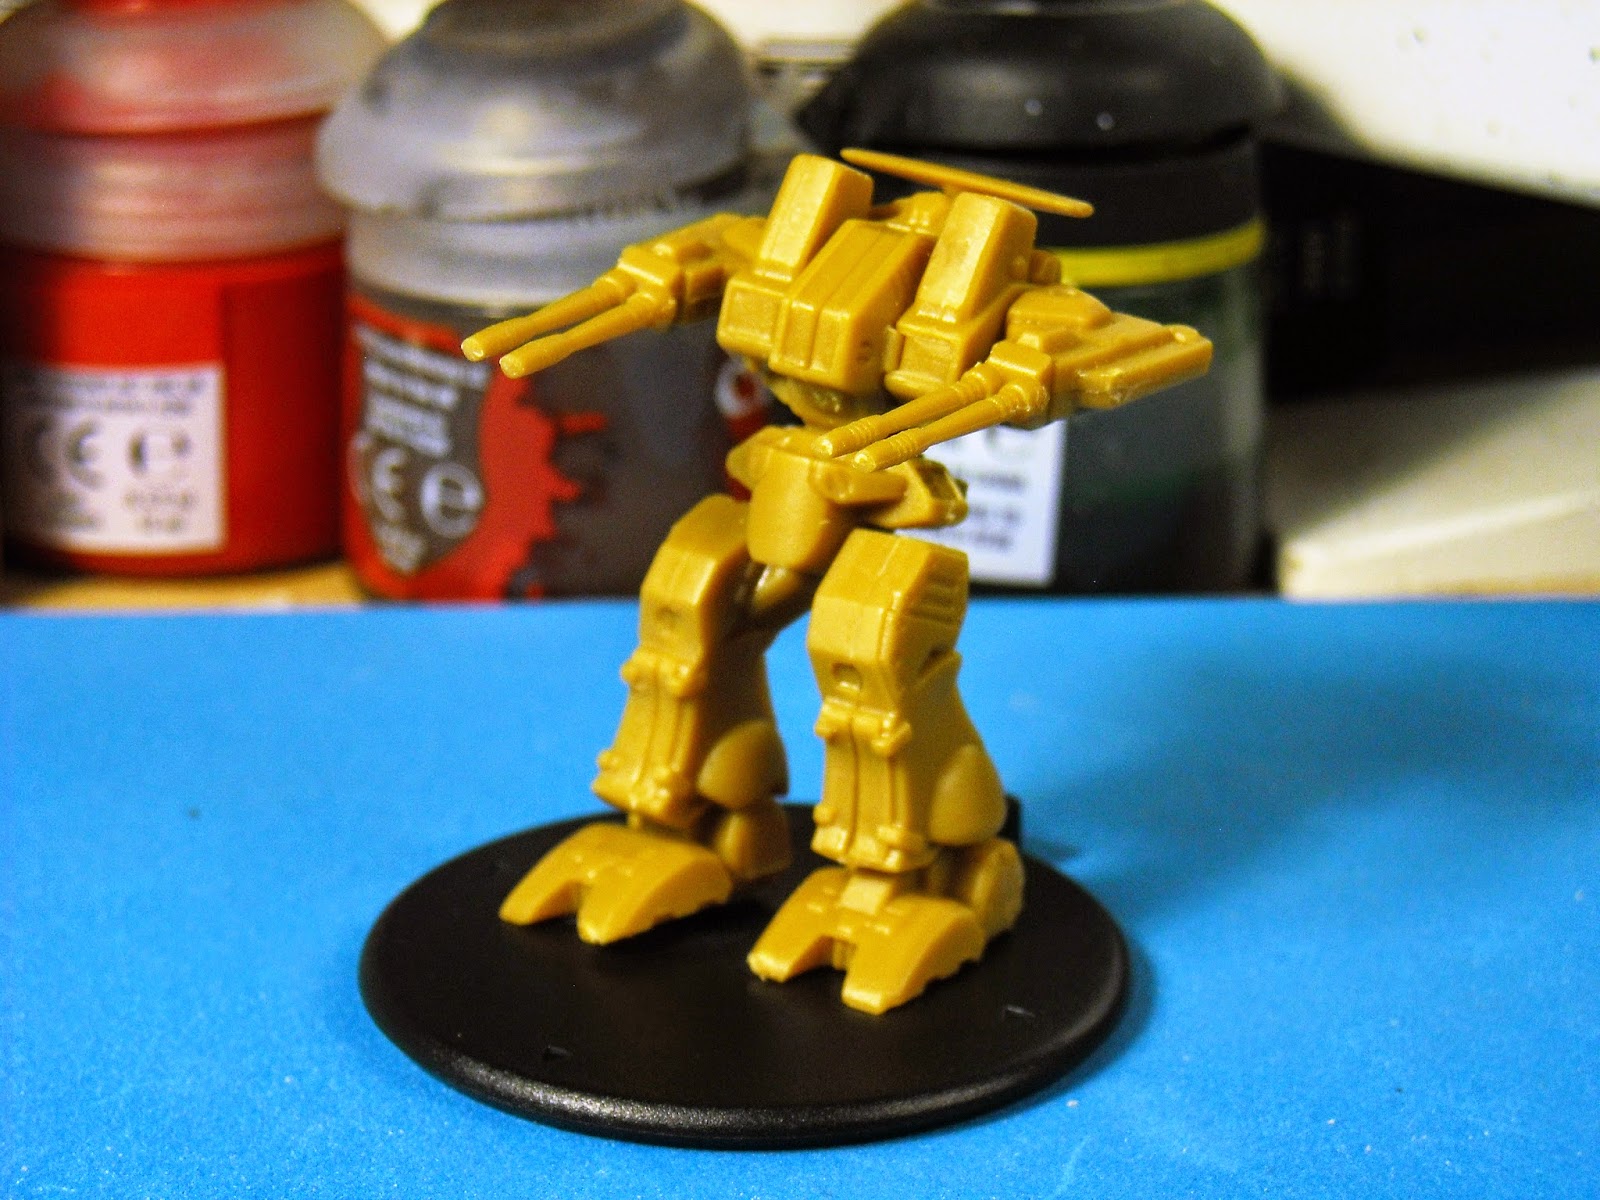
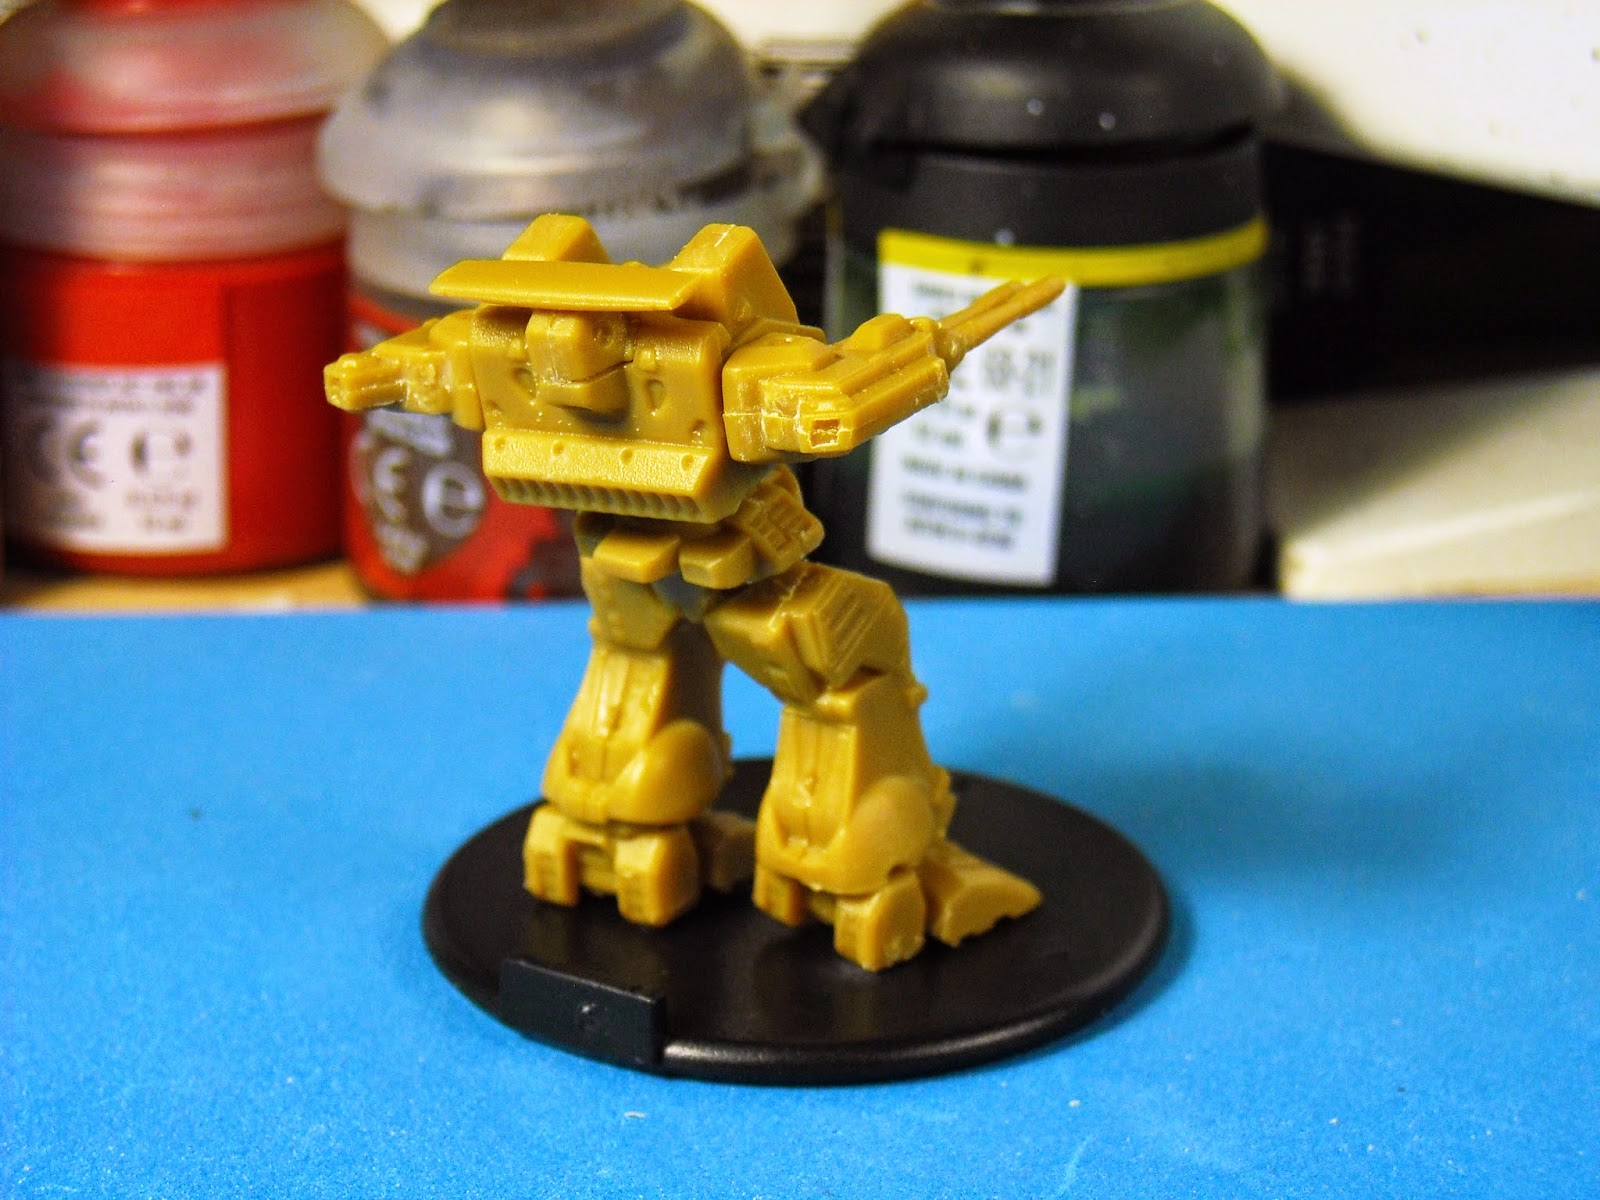
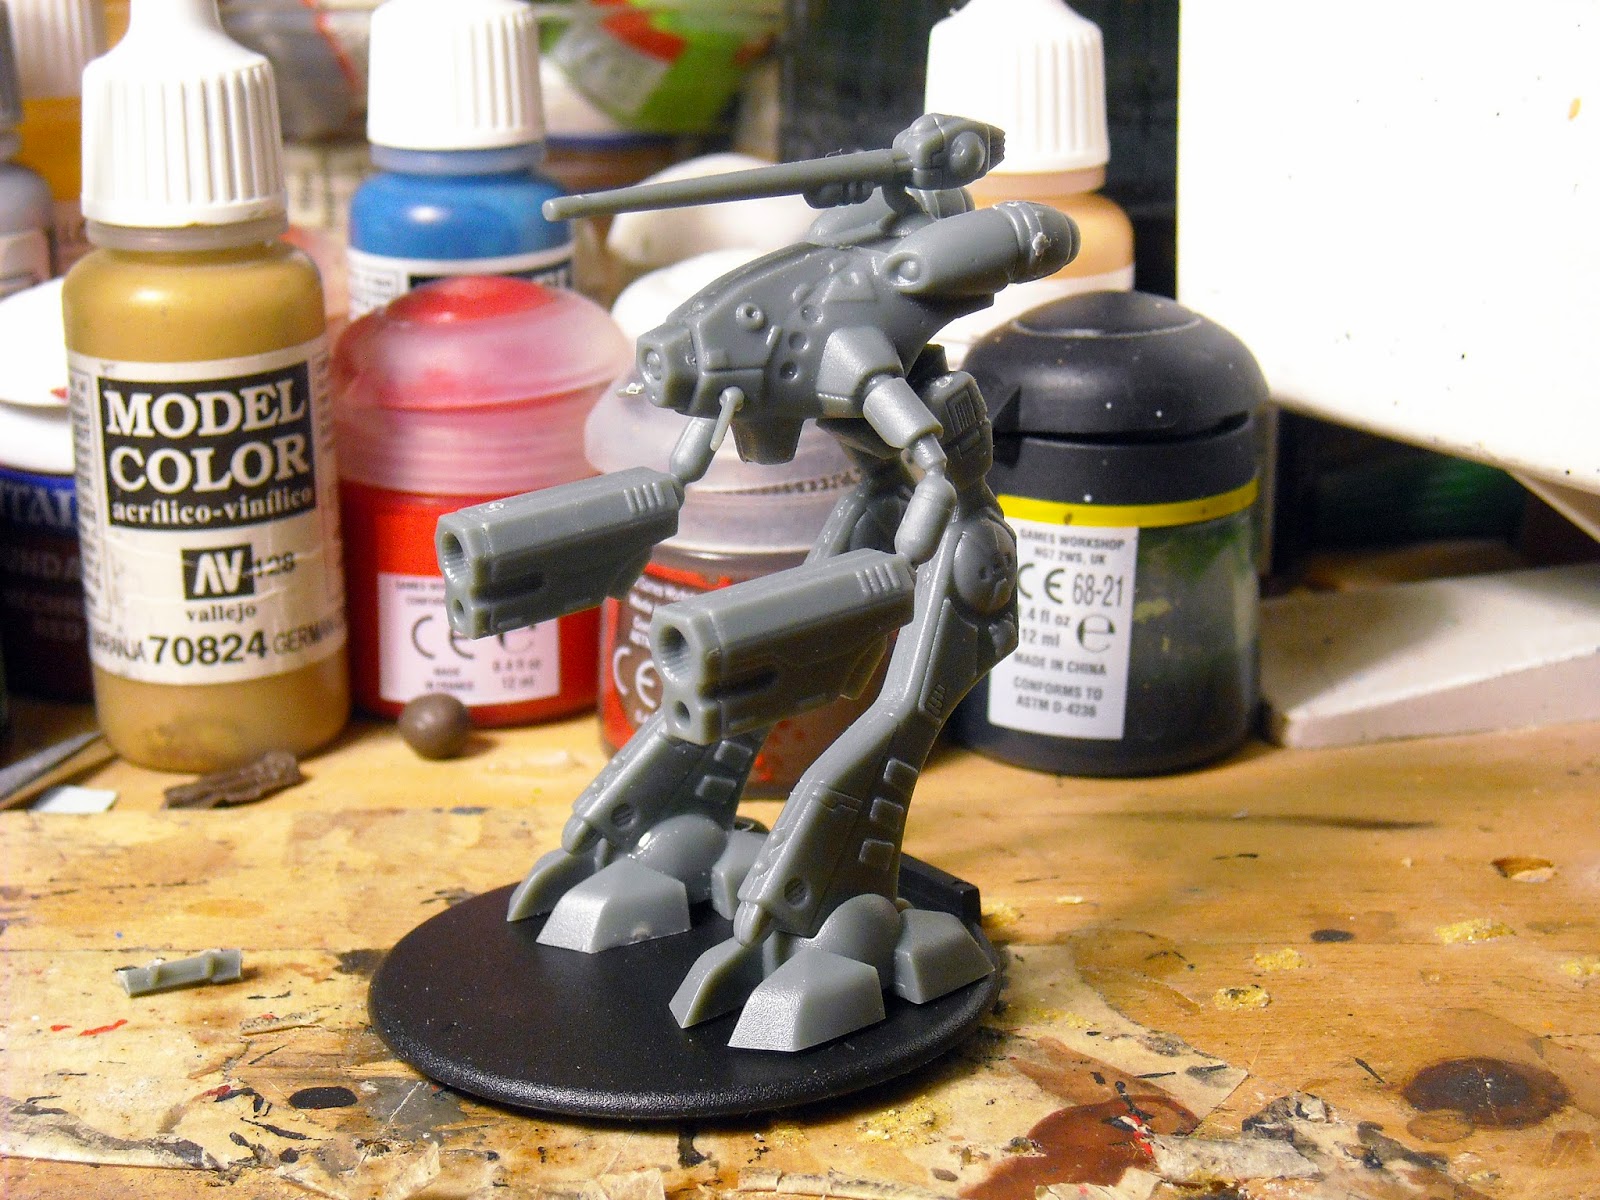
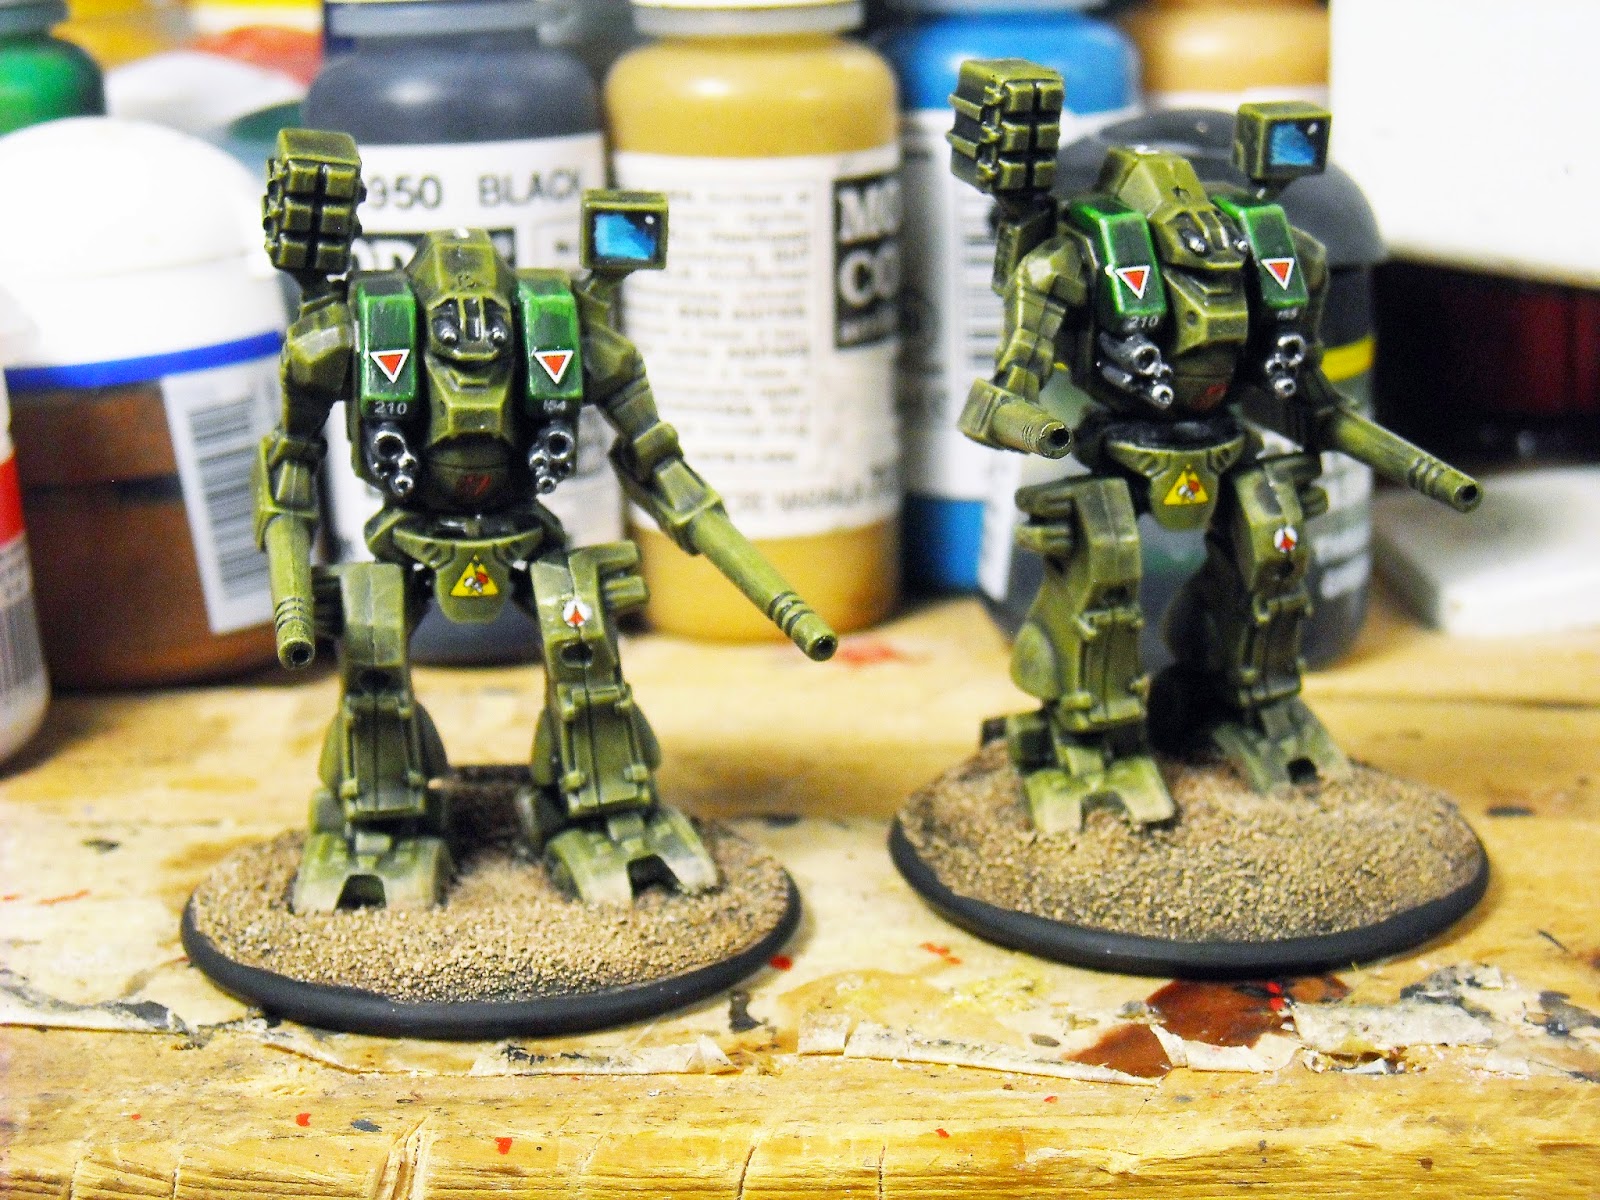
On to final assembly and another issue. The hip sections on the Destroids are made of really small ball and sockets that only want to match up in one particular way. And combined with feet that only attach in one way it's very easy to put the legs on in such a way that the figure is leaning forward or backwards. Thus my first Defender looks like his cannon have some serious recoil. So there's some real frustration with having to use super glue in assembly which doesn't allow for final positioning but the hip joints are too small to use polystyrene glue without destroying them. And do not try to reposition the legs in any way, there's not enough of a joint and the just tear apart. Thus my legless Tomahawks.

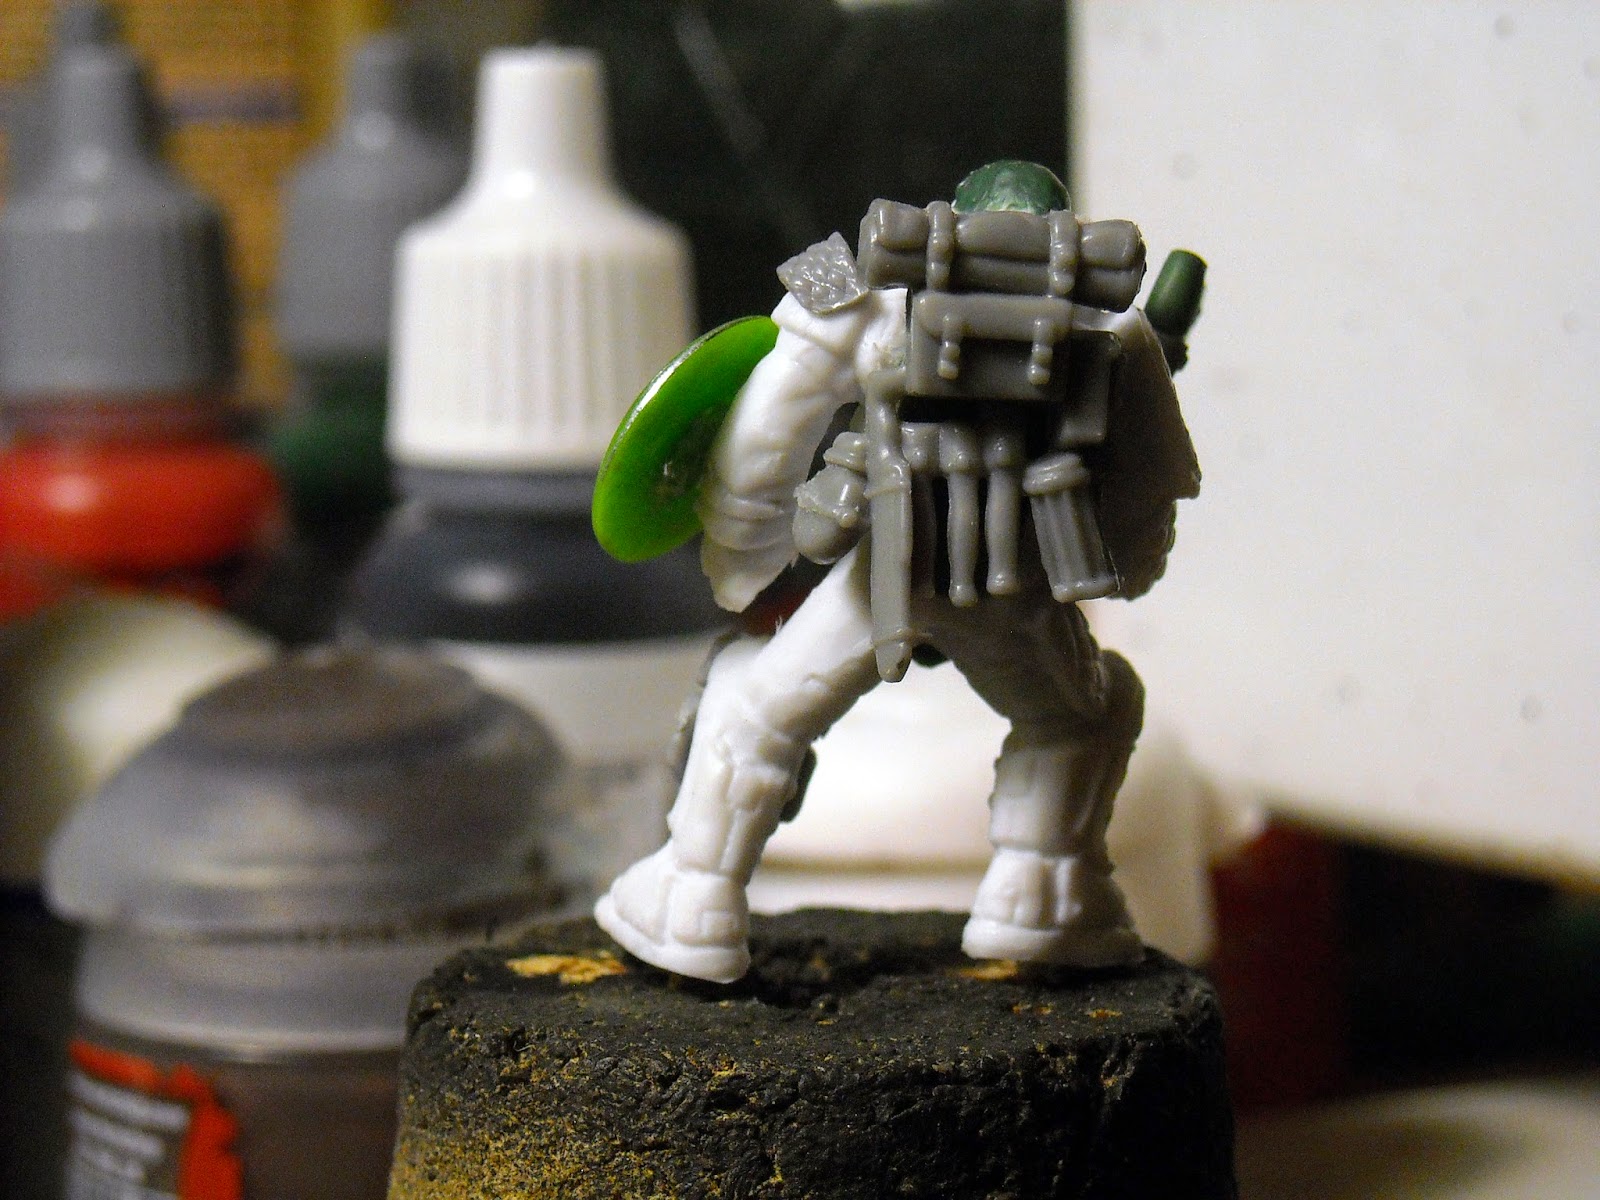
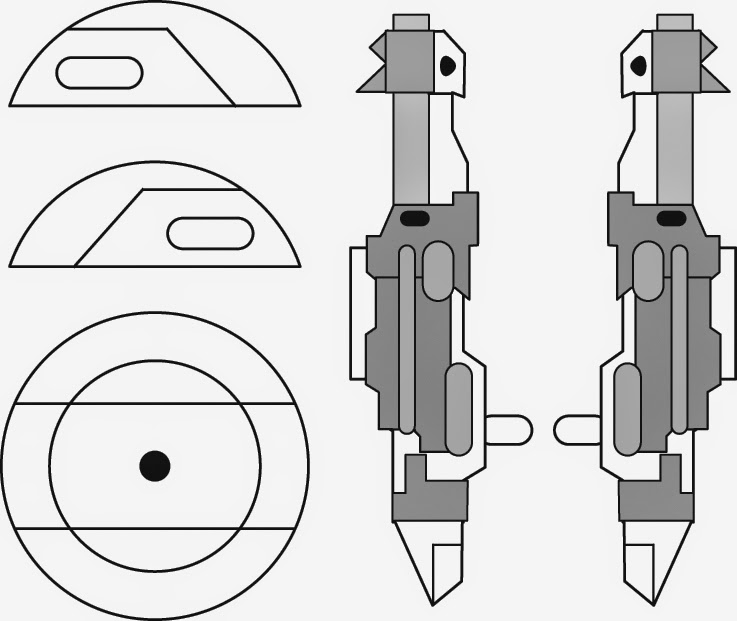
This joint is frustratingly weak and only wants to work in a particular way.  And the legs make it impossible to have them both straight, they are cast so that one is stepping forward.

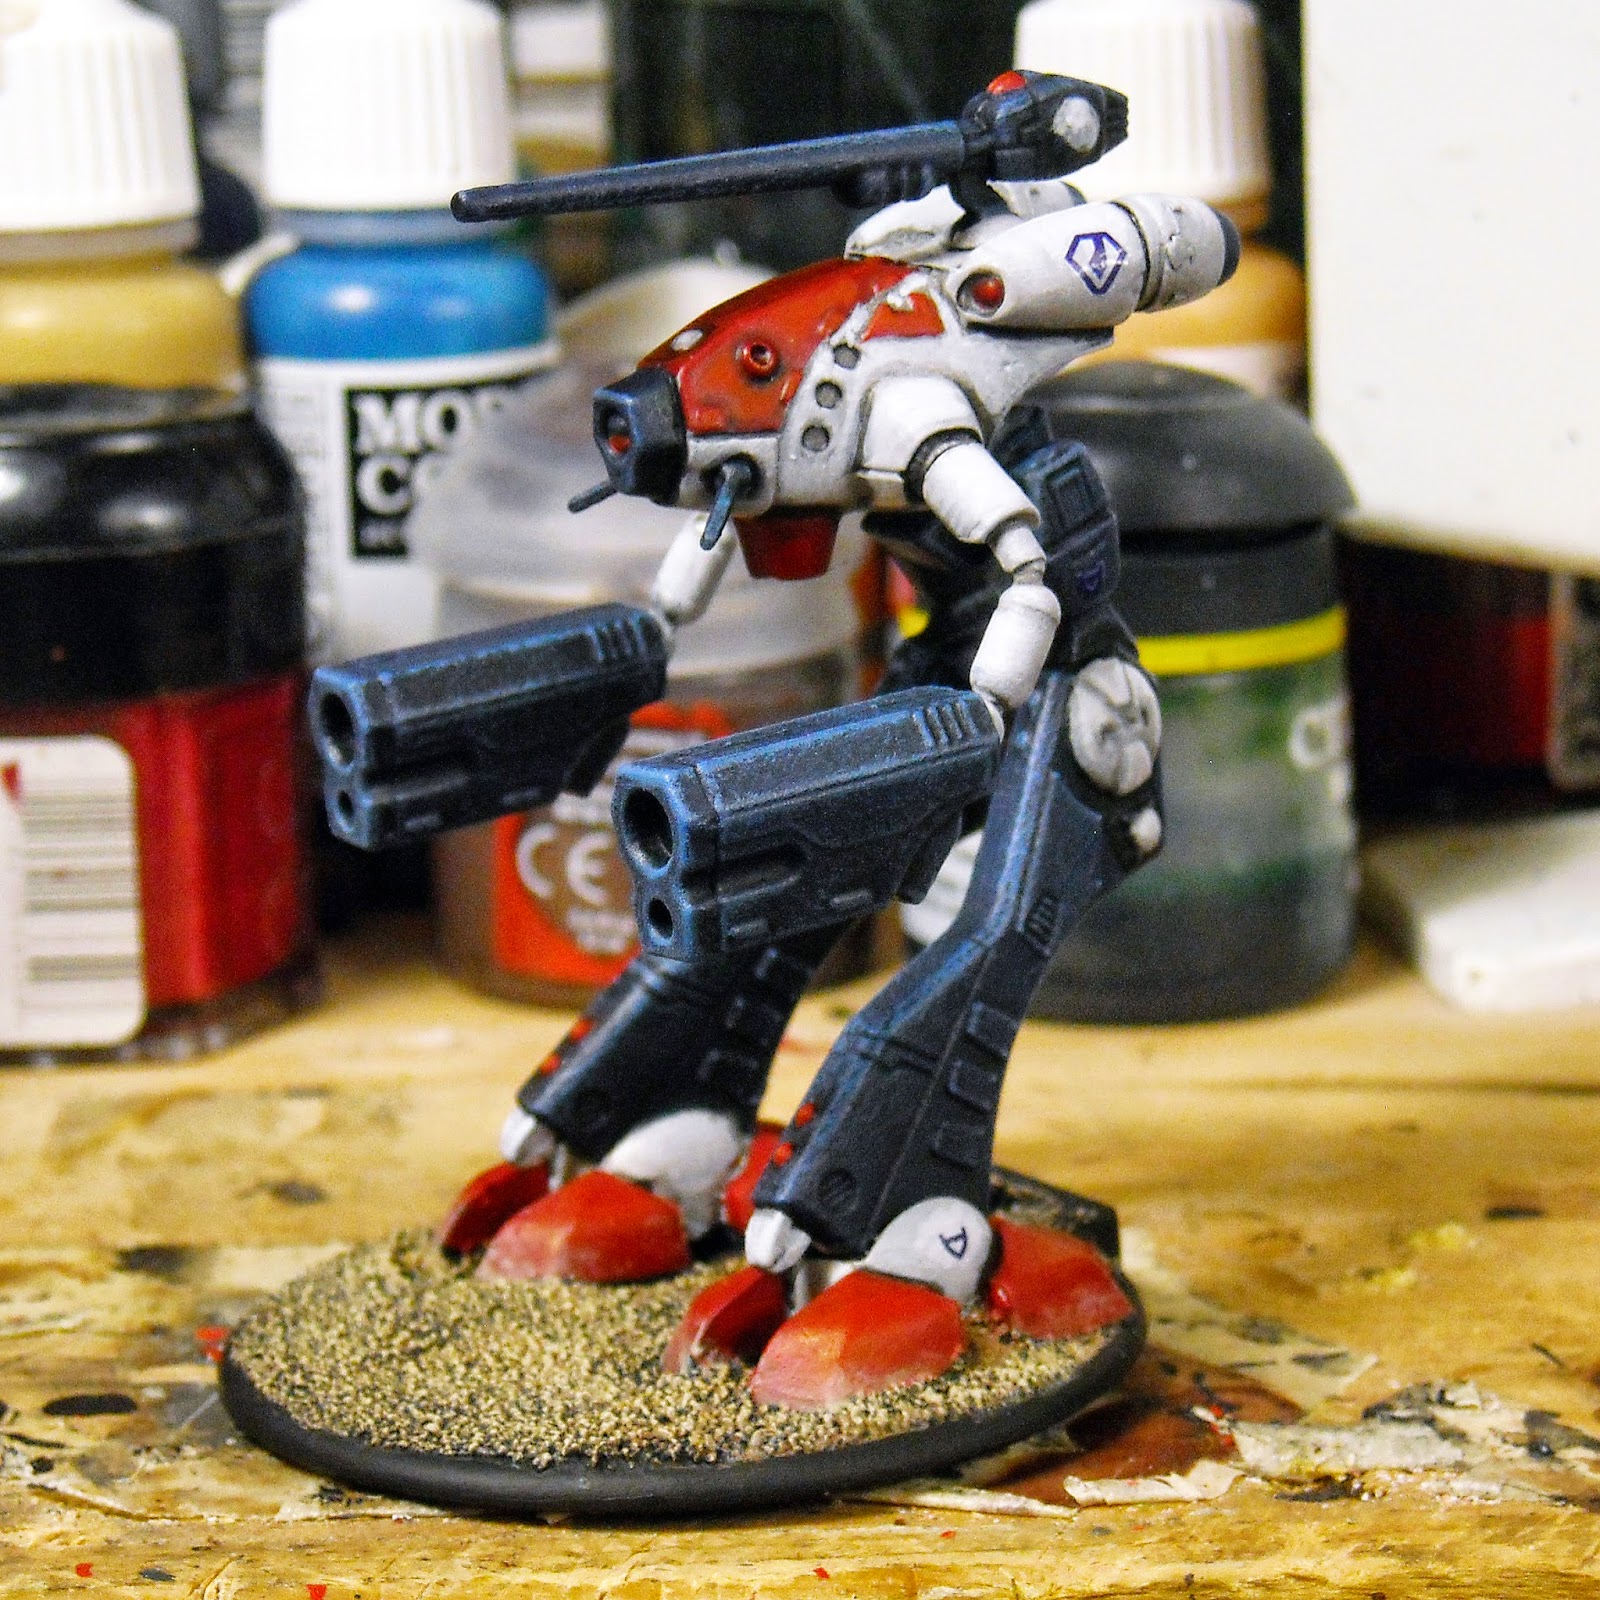
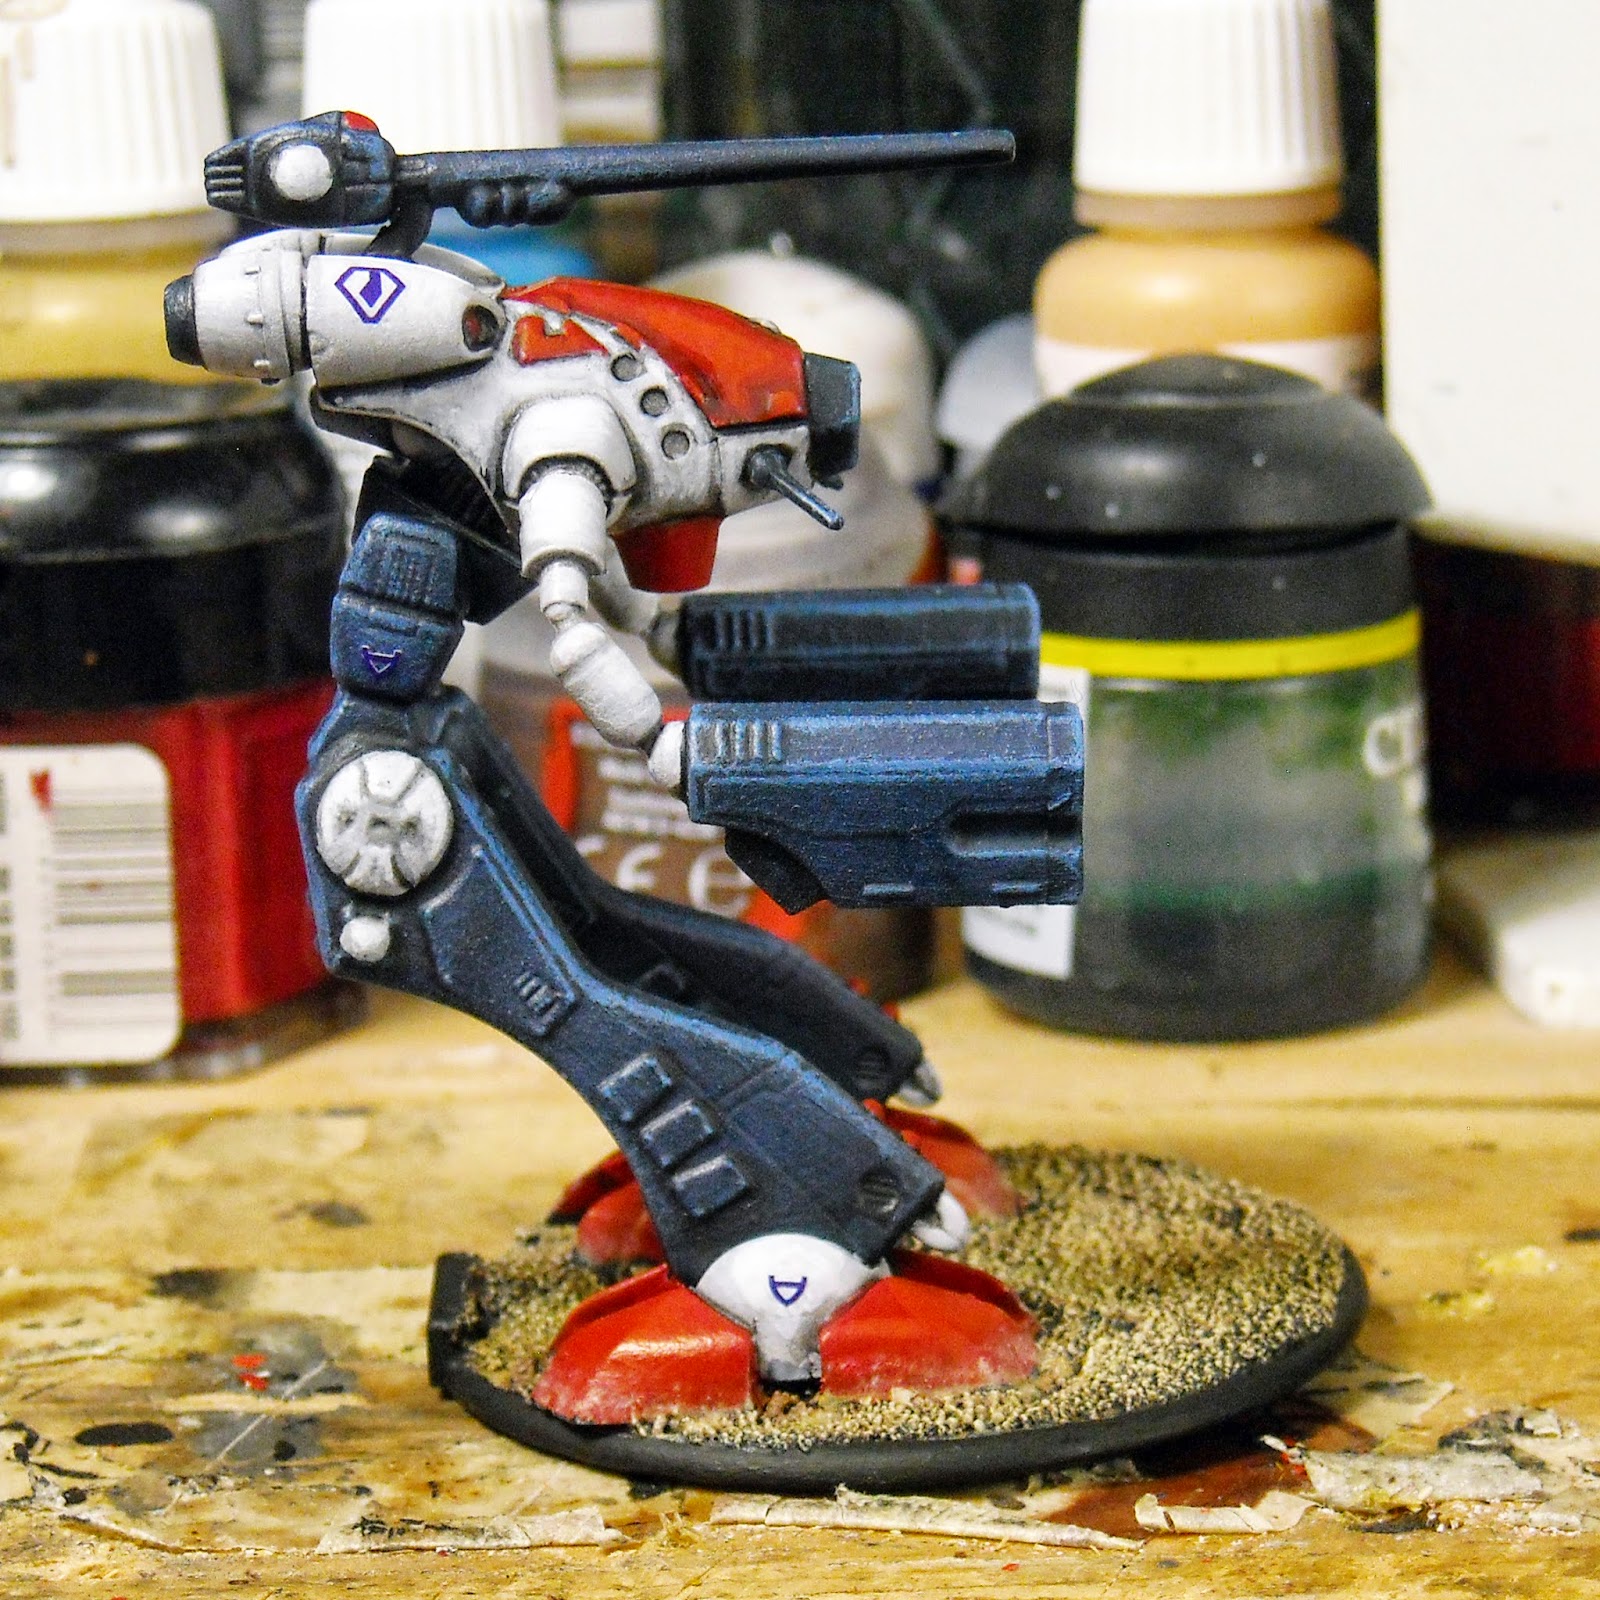
The molds have been made in steel for these kits so too much criticism is worthless and stupid. These are the models that we have and we can only do our best with them. But I can't help but wonder how amazing these kits would have been if produced by a company like Bandai, Kotobuikiya, or Max Factory. They are not terrible, they're just not amazing. But since I have dozens of them to assemble it's necessary to learn their quirks and move on. After all I just want to have some cool models and destroy some Regults.


Next up: The Spartan and Phalanx!

Assembling and Painting a Glaug Officer's Battlepod for Robotech Tactics.

$
0
0
After my misadventures with the first models I tried to put together for Robotech Tactics I decided to switch sides for a bit and build one of the Glaug Officer's Battlepods. This went together pretty well, even though there are still some oddities, and I thought it might be helpful for other modelers to see what I've come across.

The sprue contains one Glaug and one Quel-Regult.
All the parts to make one Glaug.
Bad part design of the little antenna that can't be removed from the sprue without snapping it. I'm leaving these off my finished models anyway since they probably wouldn't survive the trip to play a game.
For some odd reason the upper cannon has an odd hook-shaped joint that needs to be inserted before the two body halves are glued together.
The two halves hold the cannon in place.
The hip joint doesn't allow for any side to side movement and is attached with two flat connections.
How the hip joint fits to the torso. The legs attach to the small arched openings on the side of the hip.


Painting was very basic, quick and dirty. I'm purposely not spending much time on thiese minis but instead trying to keep things efficient while still managed a decent tabletop distance quality level. Flat colors followed by Citadel washes and a bit of highlighting and drybrushing. I went with a classic Zentradi color scheme.

One of the best parts of these kits are the decals. They don't have to be completely trimmed out and they slide off the backing paper pretty quickly. I've had decals from major model-making companies that didn't work as well.

I added sand to the base and although this obscures the markings that show front and rear fields, the tab on the back of the base will keep things lined up.

The decals are excellent.

Next up I'll tackle a few of the Regult pods!

Painted Robotech Tactics Tomahawk

$
0
0
Finally got some paint on these bad boys and am pretty happy with them. Again, I'm super impressed with the decals for these. The hips and ankles are held together with wire and I'm still not sure how the legs are supposed to be positioned. That would be a great bit of information for the manufacturers to share. Oh, and the bases are so unique that they are DOUBLE BEVELED! 

"Yer a big feller ain't ya?"

Why?

New Spreadshirt Store from RSquared and Roebeast.

$
0
0
I just added a bunch of new designs to our Spreadshirt Store if you need some clothing to cover your shameful nakedness. Featuring character from RSquared comics and games as well as general geekery.

Check them out here: http://roeshirts.spreadshirt.com/

Yva, Zombie Plague and other favorites plus some new designs!
My tribute to the under-appreciated Destroids of the Macross series.


Whether sitting on the steps of Capitol Hill or sitting on the steps of The Lonely Mountain he's Just a Billbo.

Correct gaming grammar in an easy to remember rhyme.


Painted Star Frontiers Megasaurus

$
0
0
Back to the vintage Star Frontiers minis. This time it's the massive, powerful, deadly, but still cute as a button Megasaurus. Mostly damp-brushing and washes for this fellow along with static grass and jute twine weeds for the base. I like this mini a lot but I'm not sure it captures the dread and fear these creatures are supposed to inspire.

Scared yet?


Good thing Dralasites are so chewy.

Coloring Vintage Game Stuff: Star Wars and Star Frontiers.

$
0
0
Just a quick post about a couple of pieces I've digitally colored lately. 

The first is an Adventure Square from TSR originally printed on the back of Star Frontiers Miniature blistercards. 

The computer screen says "SATHAR ARE STINKY".

Always with the Dralasites. The place is lousy with them.

The original art.


The second is a FireHawke RepulsorTank from the West End Star Wars Miniatures supplement Imperial Entanglements. I use these pieces to practice my coloring plus it's just fun to revisit this classic art.

With a blue Imperial symbol as per the description in the book. The templates by Stephen Crane, as seen below, are incredibly precise and filled with cool details. The book contains extensive descriptions of the unit markings and other information about this particular unit, the Hell's Hammers.

With a dark Gray symbol, my personal preference.


Unboxing Reaper Miniatures CAV: Strike Operations Kickstarter Rewards

$
0
0
Just a couple of short videos to show the first shipment of CAV mecha from the Reaper Kickstarter campaign. Overall they're really neat minis at an extremely low price.


The next one shows how interchangeable the pieces are.

Newly Discovered Warbots Art by John Dennett.

$
0
0
It's no secret that the Warbots conceived and sculpted by John Dennett and produced by Grenadier Miniatures are some of my favorite miniatures ever. John also created some great color cover art for the boxed sets as well as the fun information sheets that came with them.

But what even I didn't know is that he had also created pen and ink artwork of the Warbots. This art was to be used in the Mayfair Games game to be called Warbots, which was based on John's creations. 

Thanks to John Dennett for sharing these and allowing me to post them on the blog and to Jeff R. Leason for giving some more info on the great sounding game that should have been.

Cover art for the Armored Destro Squad.
Cover art for the Runner Pod Attack Team.
Information sheet that came with each box.

Squad markings and color schemes for various units within the Warbots world.

Following is the artwork that John recently scanned and shared with us. I'm hoping to color some of them at some point and to make images showing each mecha in various squad markings.
Battle Trooper Type IV

Activoid Shifter MK IIA code name Cobra.

Activoid Shifter MK I code name Viper.

Activoid Shifter MK II code name Sidewinder.

Runner Pod Type "B" code name Saracin.


Runner Pod Type "A" code name Vigilante.
Destro Walker Pulverisor.

Destro Walker Devastator.
Destro Walker Eliminator.

Sonic-pulse Saucer. From John Dennett:
"They were to be drones that accompanied the "Runner-Pods"& the "Activoid-Shifters" into the battle zones taking aim at mine fields and faster enemy land and air threats. I never got to the point of sculpting them but you can see two of them in action on the "Runner-Pod Attack Team" box art." 
Dread-naut Land-Leveler. These were meant to be three times the size of the Destroid Squad Walkers but were never produced.

Check out my earlier posts for painted versions of the Destro Walkers minis. All of these minis are now available from Mirliton here.
And check out the amazing stuff that John Dennett is creating at Moondevil Studio.

Rusty Reference Pictures: Cement Hopper.

$
0
0
I've been trying to go for more walks and instead of just wasting my time I decided to take my camera and try to load up on reference photos for art and modeling. There's some work being done on the shopping center near me and there's a beautifully rusted cement hopper that I decided needed recorded. Hopefully it be some interesting reference or inspiration for you. Here's the pics:


And what one looks like when new.

Happy New Year from RSquared Studios!

$
0
0
Art by Ryan Howe, colors by Ronda Pattison.

Brian, Ronda, Ryan, and Yva would like to wish everyone a very Happy New Year!
Visit RSquared Studios here!

Compensator Class Dreadnought

$
0
0
Forge World released their new Deredeo Class dreadnought today and although I do like the design I think it's a bit over armed. So I took it a bit further.


And an oldie but a goodie:


Dark Future Hot Wheels Renegade.

$
0
0
I've been getting drawn back into Games Workshop's abandoned game Dark Future recently via the Facebook Oldhammer: Dark Future Group and although I don't have a copy of the game I do have a small collection of vehicles that I've always planned on converting to use in the game. One of the great draws of Dark Future is that it used a scale that allowed Matchbox and Hot Wheels cars to be armed and play in the game. And given that the actual cars used for the game are getting rare quickly due to renewed interest it's looking like I'll be using toy store proxies.

A common type of vehicle in DF is called a Renegade, basically an armed and armored dune buggy used by the less pleasant types of  Dark Future baddies. Recently I found a Hot Wheels car called Bull Whip that I decided would look cool as a Renegade. All it would need was a bit of arming and armoring and a new paint job.

Low profile tires on an off-road vehicle?! Balderdash!

Nice 1970s throw-back graphics. Dork.

Disassembly was super-easy since the body was only riveted on with plastic. I remember the older cars used metal pins and those took a lot more Dremeling. These ground out like softened butter.


I wanted to add some mesh over the windows and luckily had some Kotobukiya mesh plate which would match the scale really well. You can find it here. Taking apart the car beforehand made it much easier to add the mesh.


I reassembled the whole thing, added a cut down gun from Rebel Minis and laser cut some wheel covers to mask the goofy low profile tires. Then it was just a matter of painting it in various layers of paint and weathering effects. I did a few layers and then lightly sanded the whole thing. I dry-brushed multiple layers on top of each other. I added graffiti and militant decals. Then more dry-brushing and finally paint spatters. And honestly, I overdid it.

It's been a while since I've painted anything like this and wanted to try out the whole bag of tricks. I might completely paint over the whole thing again and just imagine it to be recently car-jacked and painted in new gang colors. Although I'm not totally happy with it I had fun with it and honestly, it only cost a buck. And I think that's one of the main draws for painting and playing Dark Future. Other then the hard to find road tiles and the original minis it remains a gaming bargain seeing that you can pick up a new vehicle for less than a dollar.

Now I just need to find an original Dark Future Chainsaw Warrior.

The Necro-Mags were also my Necromunda gang.


G.G.G.

Umbelliferan "Carrot Man" Minis for Sale.

$
0
0
I have a few castings of the Umbelliferan "Carrot Man" if anyone would like to own one.
$7 plus shipping. Please contact me at hellbox45@hotmail.com if interested. Thanks!


Dwarf Monitor Prototype for Tunnel Fight.

$
0
0
Another prototype mini for my boardgame Tunnel Fight. This one is a Dwarf Monitor, a heavily armored guard tasked with keeping the passages and tunnels of vast underground industrial complexes free of intruders. They use rapid firing laser pistols to pin down enemies and chip away at them until they perish in a shower of burning laser-light. 

Deep within the TORG Industrial Complex a lone Dwarf Monitor guards a supply warehouse.

They are armored in ballistic cloth and hardened ceramic alloys that combined with the dwarf's natural ability to carry heavy loads gives them a great degree of freedom. They also carry hardened shields that add to their overall defense and can be used in close-quarters fighting. These can be used with other monitors to form nearly impenetrable shield walls.

Guild markings on the right shoulder and left shin-guard plus unit markings on right shin-guard. Notice mounting lugs on helmet for optional face shield.
Pouches carry grenades and extra power packs for the laser pistols. 
In contrast to the Tunnel Ratlings who use stealth and murderous fury, the Dwarf Monitors combine overwhelming firepower with tenacious defense.

A good defense and a good offense.

Laser Cutting a Laser Cannon for Dark Future

$
0
0
I've been messing around with ways to make weapons for Dark Future that not only are cheap and fit the sized cars I'm using but that will also be familiar to anyone who plays Dark Future. So laser cannon should look like DF laser cannon on first glance. Proxies are great, and necessary since DF weapons are so hard to come by, but I think that they should be similar to the originals.

Thanks to some of the kind folks on the Dark Future Facebook page I have some images of the original Df weapons sprue to base my designs off of. This is my first attempt, a laser cannon that I designed, cut, and painted in under two hours. It's a bit melty, a bit sloppy, but I think still reads as a turreted laser cannon.

Thanks Allicia!

My Illustrator design.
Mounted on a Matchbox Baja Bullet.

Quick paintjob to show actual detail. Due to the acrylic being clear I often can't tell what it's really going to look like until it's been painted.

By no means perfect but retains the silhouette and proportions of the original and is  thus quickly read as a DF laser cannon.

2015 Oldhammer Legacy Warband: Space Pirates!

$
0
0
Axiom on The Oldhammer Forum just started a cool project to build and then give away a Space Pirate Warband. Each mini will be converted and painted by a forum member and then one lucky participant gets the whole warband. 

I'll be kicking in this Marauder Tech figure that I first converted the year it was released and recently stripped back to bare metal. The mini itself has led a hard fought and chaotic life being packed and re-packed during various moves so it seems fitting that he would be part of a rag-tag group of galactic privateers.


Viewing all 193 articles
Browse latest View live